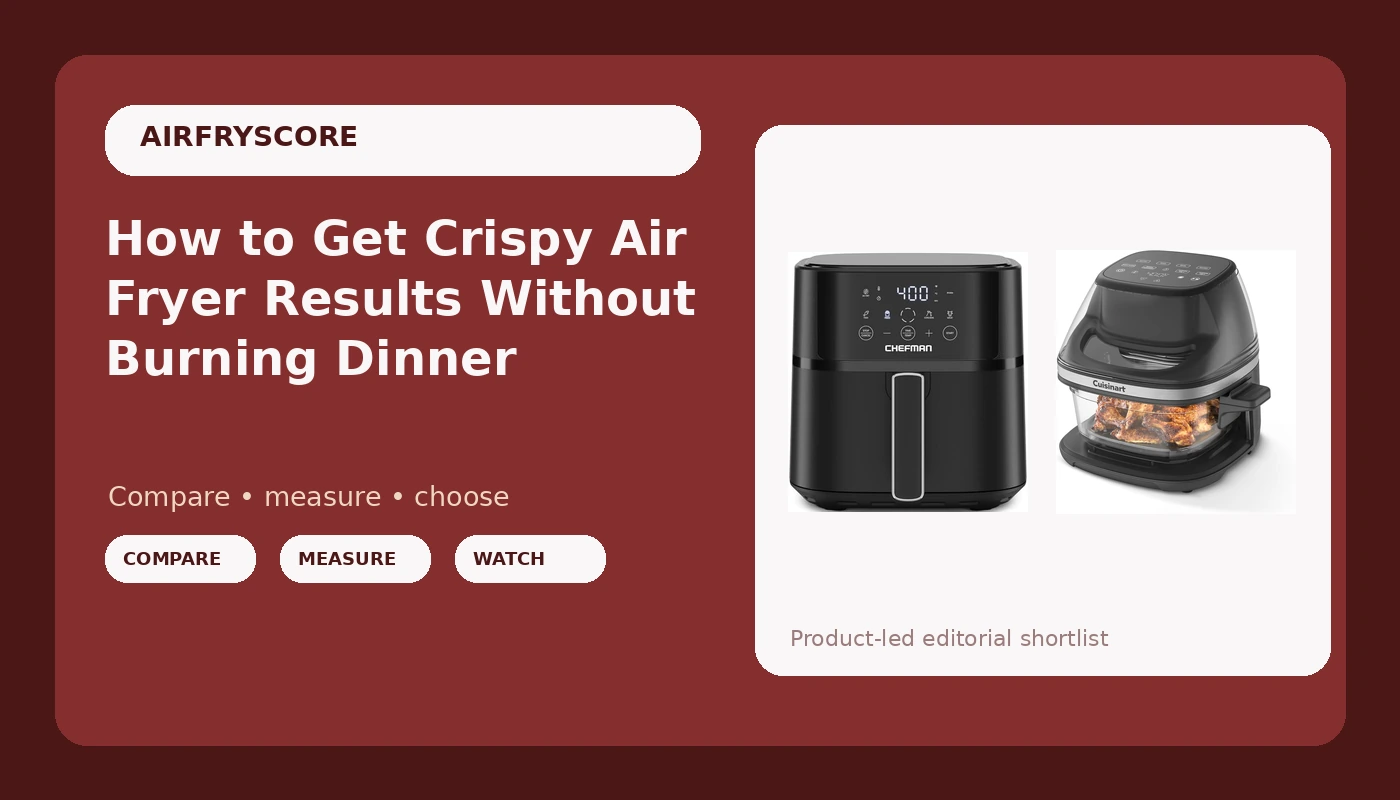
Most people blame the machine when dinner comes out pale in the middle and scorched at the corner. Usually the machine is fine. The problem is that nobody set it up for the way it actually heats. Crispy air fryer results come down to three things you can control: how tightly the unit holds temperature, how much usable footprint you leave open around the food, and how freely air moves through the basket. Get those three right and a mid-priced machine beats an expensive one every single night.
I have cooked in air fryers long enough to have strong opinions about airflow that nobody asked for. This is the workflow I run on any new machine before I trust it with a real dinner. It works the same on a 4 quart countertop unit and on a 6 quart family basket, and it takes about 20 minutes to learn. After that, it is muscle memory.
Why you should trust me
I'm Priya. I live in Chicago and I have been writing about food for nine years, the last stretch of it focused on countertop cooking. I have cooked thousands of meals in air fryers and I keep a spreadsheet of cook times for staple foods per machine, because memory is a liar and a log is not.
What I care about is boring and specific. Does the machine hold temperature in a tight band, or does it swing 40 degrees and burn the outside before the center thaws? Is the advertised basket size actually usable once you subtract the walls? Does the nonstick survive a month of real dinners, or does it flake by week three? Those questions decide whether a machine earns counter space. Everything else, including the preset buttons, is decoration.
How I judge a machine before I cook in it
Temperature accuracy comes first. A unit that runs hot ruins recipes you trust, because the recipe assumes 380 and the machine delivers 420. On your end the fix is a cheap oven thermometer or an instant-read probe. On the machine's end the fix is buying one that holds a tight band in the first place. You cannot season your way out of a bad thermostat.
Usable footprint comes second. A basket that advertises 6 quarts but tapers hard toward the bottom might give you the flat cooking surface of a 4 quart unit. I measure the flat area, not the box, because that flat area is where food sits in a single layer with room for air to move.
Airflow comes third. Crispness is about moving hot air, not about wattage. A lower wattage machine with a good fan and a well-shaped basket will beat a higher wattage machine with a cramped interior nearly every time. If the food is stacked, the fan is just blowing at a wall.
Cleanup comes fourth, and I am not joking about it. A basket that goes in the dishwasher is a basket you will actually use on a Tuesday. A basket that needs a hand wash and a soak is a basket that quietly becomes a cabinet decoration.
The two machines worth building this workflow around
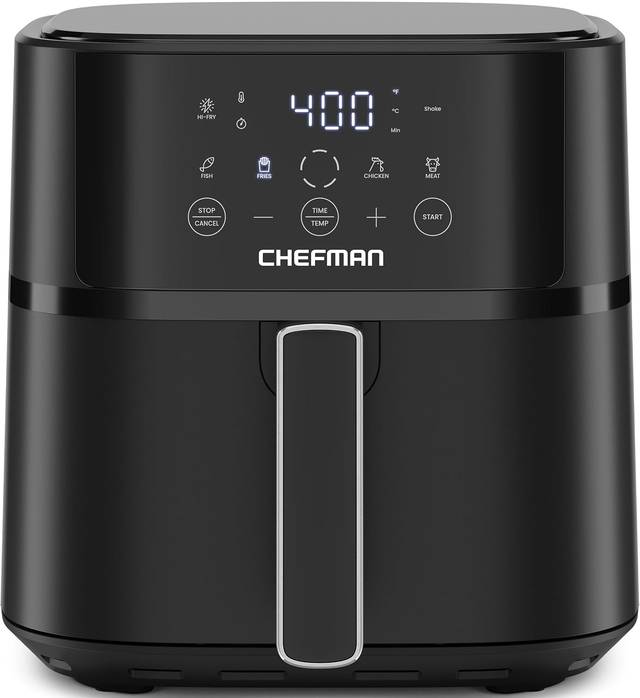
Pick for bigger batches: Chefman Air Fryer, 6 QT Compact Airfryer for Quick & Easy Meals in Minutes, Features Hi-Fry Technology for Extra Crisp, Touchscreen Controls with 4 Presets, Nonstick & Dishwasher Safe Basket - Black
 Visit on Amazon →
The spec that matters here is the 6 quart basket, because capacity is what keeps you from crowding food, and crowding is the number one cause of soggy results. A larger basket lets you spread a full tray of vegetables or a family portion of chicken in a single layer, which is exactly what the airflow needs to do its job. The Hi-Fry technology is aimed at extra crisp, and the touchscreen gives you four presets plus manual control, which is the part I actually use. Presets are a starting point, not a recipe.
The basket is nonstick and dishwasher safe, which matters more than people admit. Once a coating starts flaking, food sticks, and once food sticks, you scrub harder, and once you scrub harder, the coating flakes more. Getting it into the dishwasher instead of the sink is how you keep a machine alive for years.
Worth knowing: A bigger basket also takes longer to preheat and needs a little more room on the counter. Measure your cabinet clearance before you commit. If your kitchen is tight, the smaller machine below is the smarter buy.
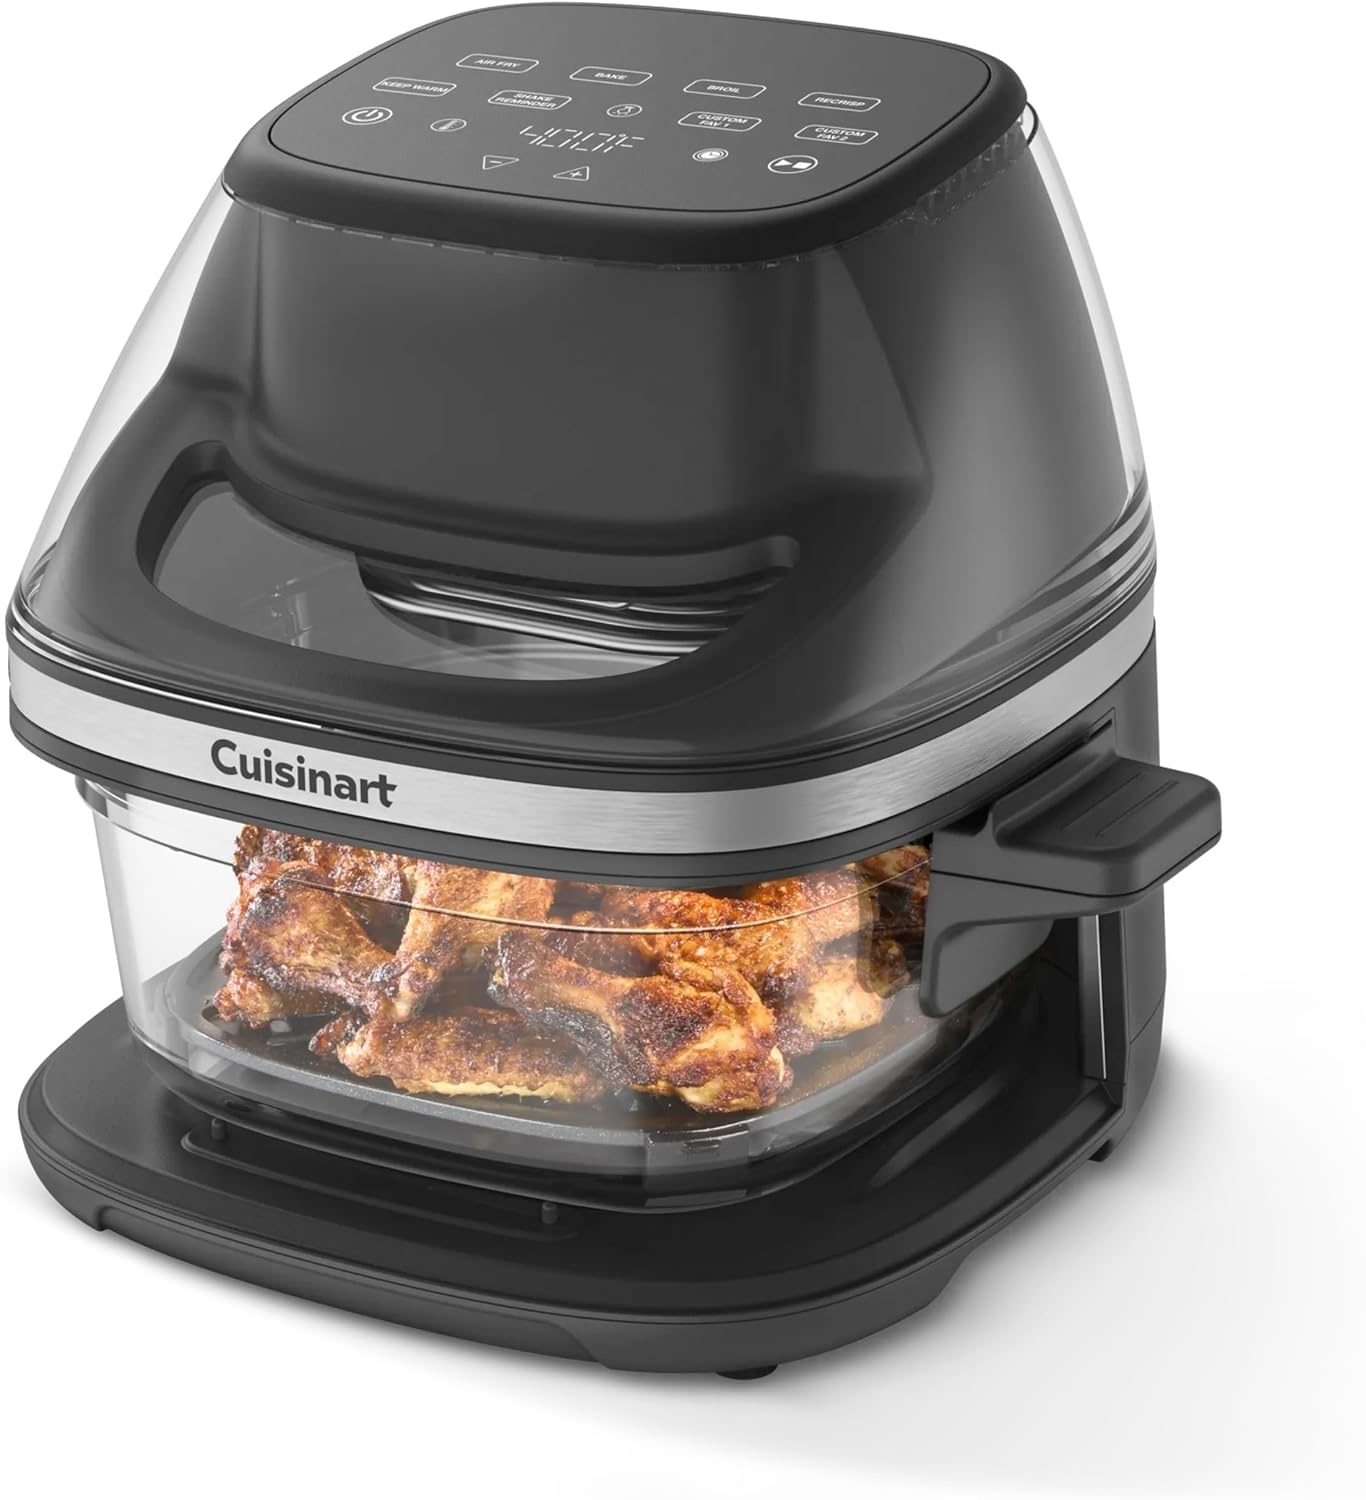
Pick for watching it cook: Cuisinart Air Fryer, Glass Basket & ClearView Window, 5 Functions, 4 Qt
 Visit on Amazon →
The glass basket and ClearView window are the reason to look here. Every time you pull a basket out to check on dinner, you dump the heat you spent minutes building, and the cook time goes up while the temperature swing gets worse. A window means you can watch browning happen without breaking the seal. That is a real workflow advantage, not a gimmick.
The 4 quart size is right for one or two people, or for sides alongside a main cooked elsewhere. Five functions give you more than air frying, so it can pull double duty as a countertop oven for smaller jobs. Check current Amazon price.
Worth knowing: Glass is heavier than a coated metal basket, and you will want to let it cool fully before it goes anywhere near water. If you cook for four or more, the 6 quart machine above is the better fit.
The actual workflow
Now the part you came for. This runs on either machine above, and on whatever you already own.
Step one: Preheat for real. Most air fryers cook noticeably better after three to five minutes at the target temperature with an empty basket. The "no preheat needed" line on the box is marketing. A cold basket means the first few minutes of the cook happen at the wrong temperature, which is how you get a raw center and a dark edge.
Step two: Calibrate your set point to your machine. Put an oven thermometer in the basket, run it at 375 for ten minutes, and read the number. If it reads 400, your machine runs 25 degrees hot, and every recipe you follow will be wrong until you adjust. This single check fixes more bad dinners than any gadget you can buy.
Step three: Respect the usable footprint. One layer. Not a heaping layer, not a layer with a little pile in the middle. If the food touches its neighbor on all sides, the hot air cannot reach the surface, and the surface is the whole point. Cook in two batches if you have to. A second batch that is crisp beats one batch that is steamed.
Step four: Dry the surface, then oil lightly. Moisture on the outside of food turns to steam, and steam is the enemy of crisp. Pat proteins and vegetables dry with a paper towel, then toss with a small amount of oil. A tablespoon for a full basket is plenty. Too much oil pools, smokes, and leaves the bottom greasy while the top stays pale.
Step five: Shake or flip at the halfway mark. Set a timer for half the total cook time and actually do it. Shaking redistributes the pieces that were sitting in the hot spot and gives the pale side a turn against the heating element. This is the difference between evenly browned and half-burnt.
Step six: Probe your proteins. Do not guess at chicken. An instant-read thermometer in the thickest part tells you the truth, and it tells you before the outside turns to leather. Pull meat a few degrees early and let it rest, because carryover cooking is real.
Step seven: Learn your machine's hot spot. Nearly every air fryer has one corner or one side that runs hotter than the rest. Once you know where yours is, rotate the basket or rearrange the food halfway through and the problem mostly disappears.
Step eight: Clean between cooks. A dirty basket with baked-on residue smokes, and smoke flavors everything you cook after it. Wipe it down or run it through the dishwasher after dinner, not the next morning.
Mistakes that flatten your crisp
The biggest one is trusting a preset. Presets are built for a generic machine and a generic portion, and your portion is neither. Use them to get close, then take over manually.
The second is using metal tongs or an abrasive scrubber in a nonstick basket. Silicone or wooden tools only, and a soft sponge or the dishwasher. Scratches are where flaking starts.
The third is cooking high-fat food at the top of the temperature range. Fat renders, drips onto a hot element, and smokes. Drop the temperature a notch, and put a splash of water in the bottom of the drawer if your model has one.
The fourth is overcrowding, and it deserves repeating because it is the mistake people make every single night. Two thin layers will never be as good as one honest layer.
What I would skip
Skip machines that advertise an enormous nominal capacity with a basket that tapers to a narrow floor. The number on the box is not the number you cook on.
Skip anything with twenty presets and no manual temperature control. You need a dial you can set, not a menu you have to argue with.
Skip "healthy frying" language entirely. An air fryer is a small convection oven, and it makes good food because it moves hot air well. That is the whole pitch. It does not need a health claim attached to it.
What this all costs
Both machines here sit in the mid range, and the honest answer on price is that it moves. Check current Amazon price on each one before you decide, because the gap between them is small enough that the right call depends on your counter space and how many people you feed.
The cost math that matters is not the sticker. It is how much food you throw away because a machine runs hot, burns the edges, and leaves the middle raw. A unit that holds temperature and a basket you can actually clean will outlast two cheap ones, and you will cook in it more often. That is the real return.
Pick the size that fits your household, run the eight steps once, and write down what your machine actually does at each set point. After that, dinner stops being a guess.
That is the job. Your air fryer was built to do this. Let it.