Most people buy a large capacity air fryer oven, plug it in, set it to 400 degrees, and then wonder why the top rack is charcoal while the middle of the food is still cold. I have watched this happen in my own kitchen more than once, and I have the smoke alarm history to prove it.
An oven-style air fryer is not just a bigger basket. It is a small convection oven with a fan, two or three racks, and a heating element that sits much closer to your food than the element in your wall oven does. That difference is the whole game. Once you know where the heat comes from and where the air goes, a large capacity air fryer oven becomes the most useful appliance on the counter for a family. Before that, it is a machine that burns the top of everything.
Here is the workflow I use, plus the two pieces of gear that make it work.
Why you should trust me
I have been cooking for a living for nine years, and for most of that time I have been testing small kitchen appliances with a probe thermometer and a spreadsheet open on the counter. I have cooked more than 2,000 meals in air fryers, and I have burned exactly three kitchens' worth of smoke alarms getting here.
Every machine I write about goes through the same four checks: a frozen fry test for how the fan handles a cold, dense load, a chicken thigh test for skin crispness, a small cake for even heat, because a cake shows you every hot spot in the cavity, and a 30-day daily-use trial, because the first week of any appliance is a honeymoon. I keep cook times for 40 staple foods per machine, and when one of my recipes fails, the first question is always whether the machine drifted from the temperature I set.
How I picked and how I tested
The short version: I do not care about box liters, wattage claims, or how many presets are printed on the front. I care about four things.
Temperature accuracy comes first. A machine that runs hot ruins every recipe you trust it with, because you cannot fix a moving target.
Usable footprint comes second. The box says 32 quarts. What matters is how much food actually gets airflow on the racks once the food is in there.
Airflow comes third. Crispness is about moving air, not raw wattage. A machine with a good fan and a modest element beats a hot machine with a lazy fan every time.
Durability comes fourth. Trays that go in the dishwasher are trays you will still like in month six. Coating that scratches when you look at it wrong is not.
The machine below is the one I would put on a family counter for this kind of cooking, and the small item underneath it is the gear nobody thinks about until dinner is on the plate and a toddler is reaching for it.
What you need before the first cook
You can start with nothing but the machine, but two things make the first month easier.
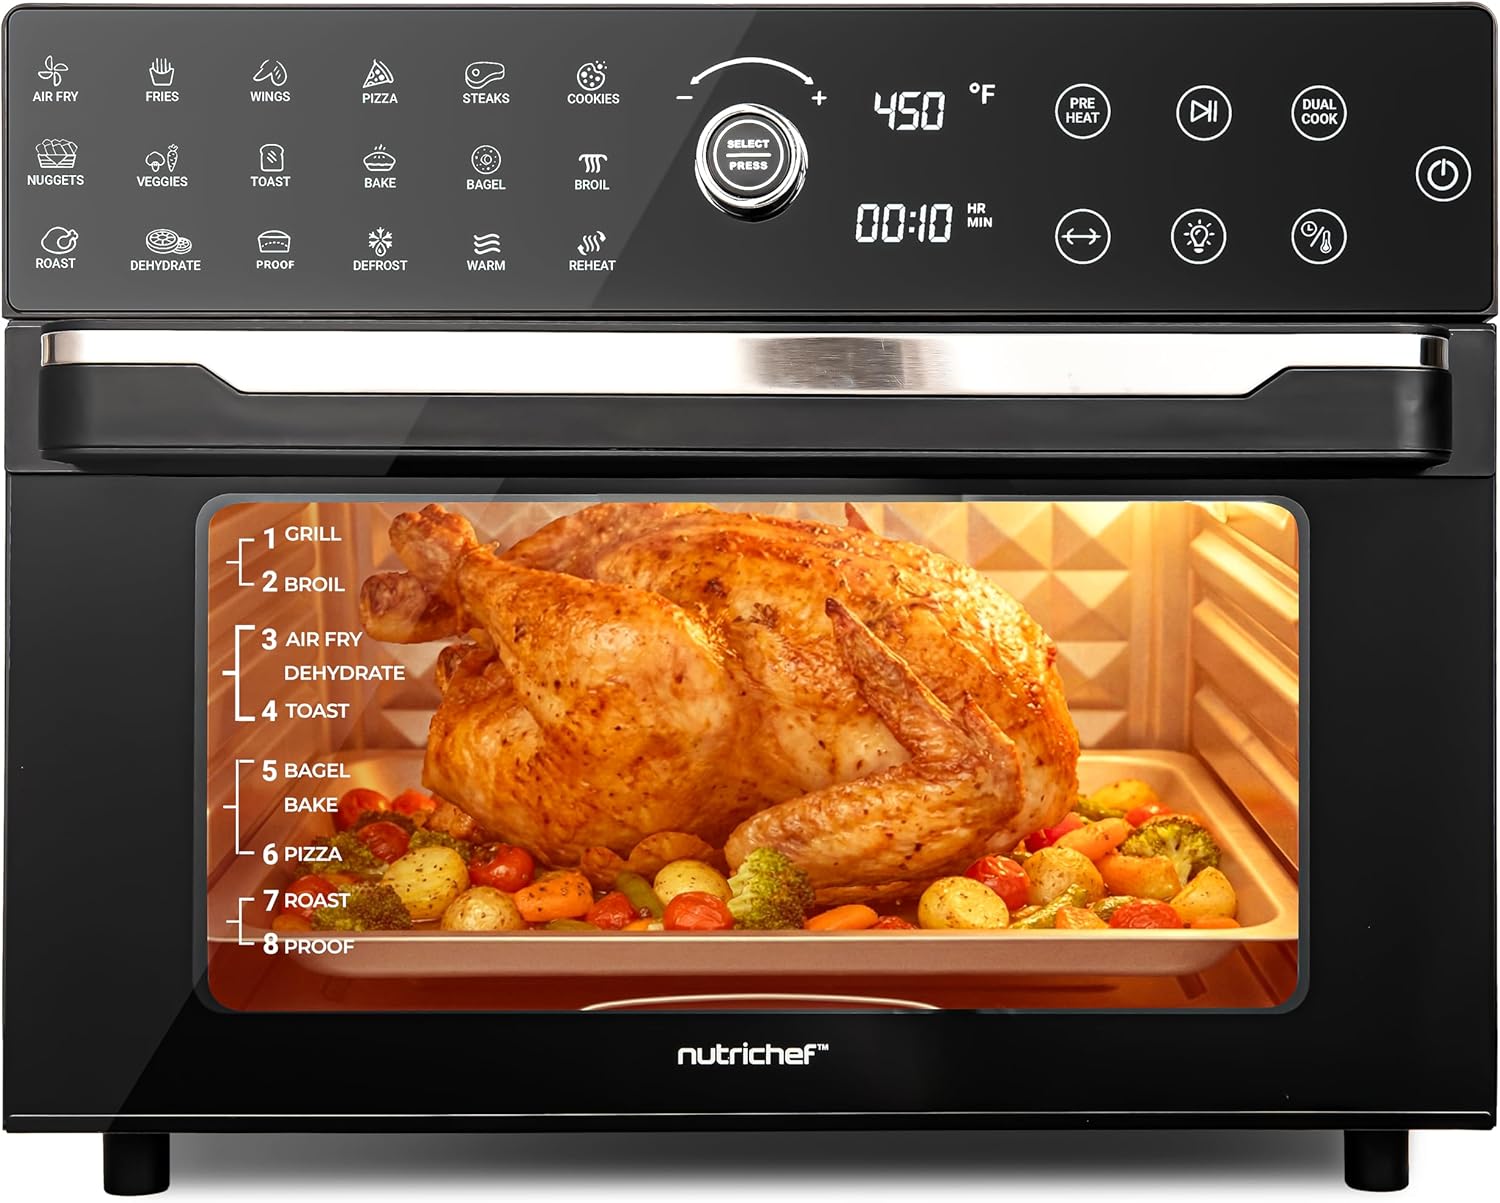
Our pick: NutriChef 32 Quart Air Fryer & Oven
 Visit on Amazon →
This is the oven-style machine I point families toward when they want to cook more than a basket of fries at once. It is a 32 quart digital air fryer and convection countertop oven with 20 presets, dual cook, rotisserie, and bake functions, and it measures about 18 by 17 by 14 inches, so it wants real counter space, not a sliver next to the toaster.
The dual cook setting is the feature that earns its keep. It lets you run two different cooks at two different settings in one session, which is how you get a tray of vegetables and a tray of chicken thighs done at the same time without one of them turning to leather. The rotisserie is a bonus if you like a whole chicken on a Sunday, and the bake setting means it can stand in as a second oven during holidays.
Check current Amazon price. This class of machine moves around with sales more than a basket fryer does.
What to know before you buy: this is not a fast appliance the way a small basket fryer is. The cavity is large, so it takes longer to reach temperature and longer to recover when you open the door. The trade is capacity. You can cook dinner for four in one pass instead of three batches.
Flaws but not dealbreakers: It is big. Measure your counter and the clearance above it before you order, because a machine this size under a low cabinet will annoy you every single time you use it.
Anyone cooking for three or more people, or anyone who wants one appliance to roast, bake, and air fry, will get the most out of it.
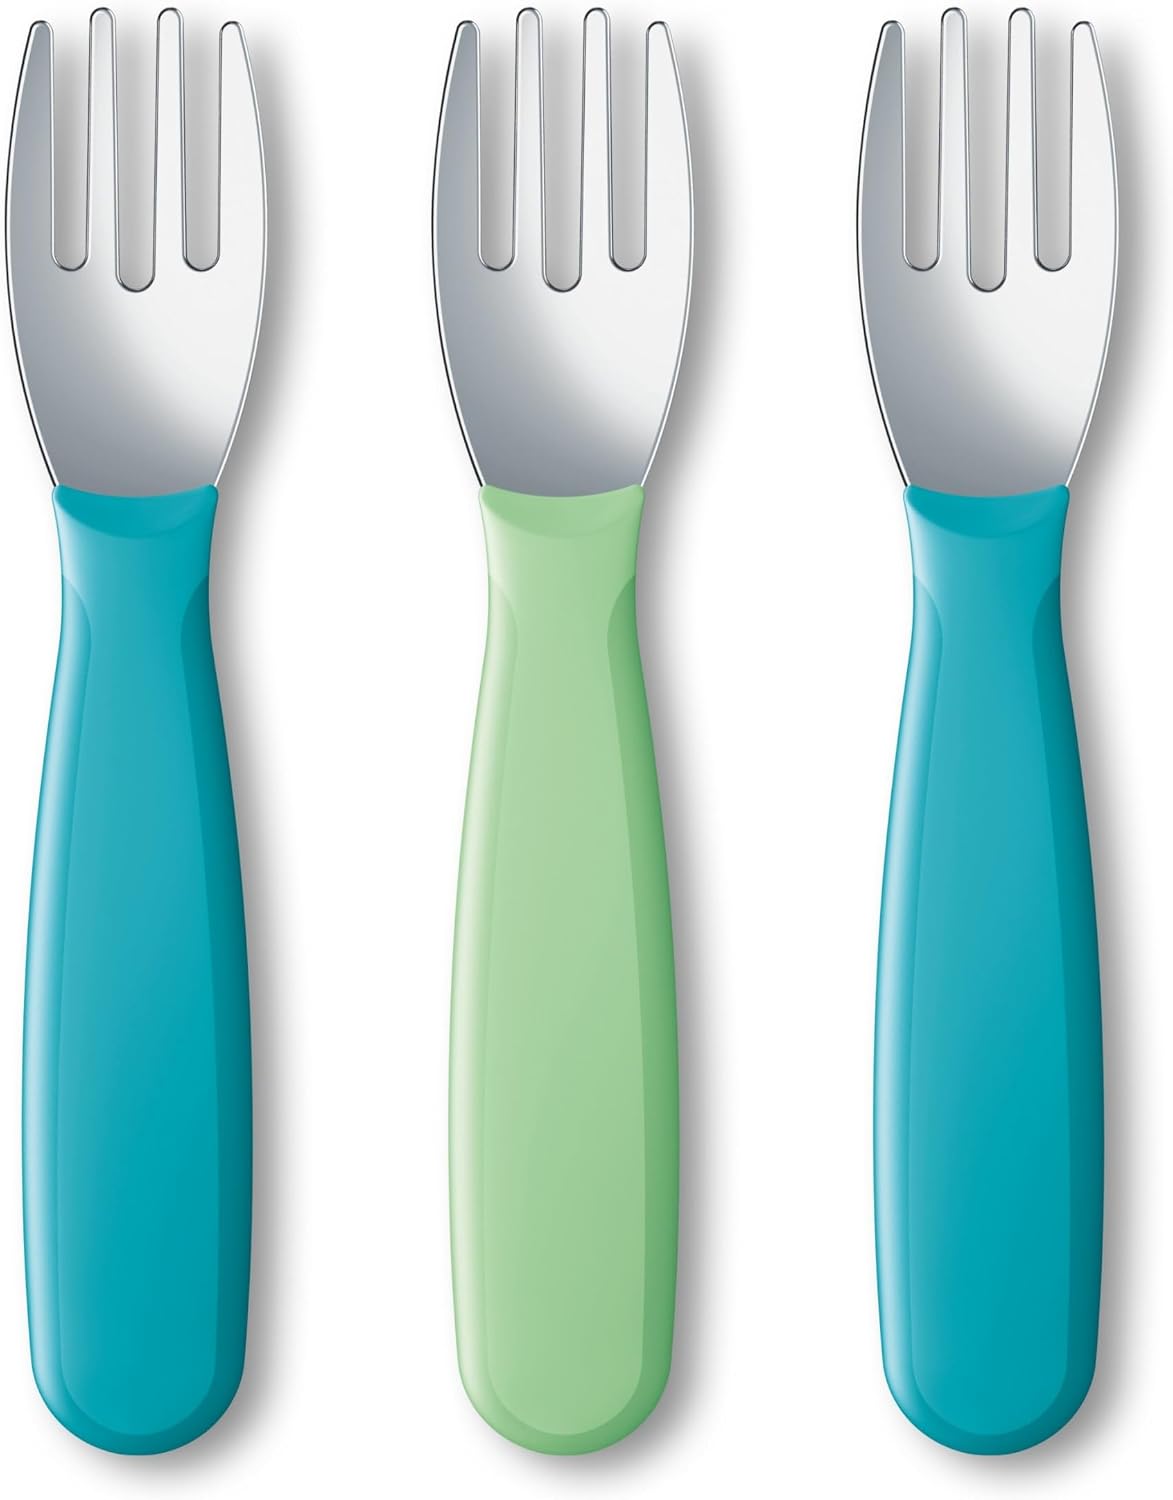
The small-hands pick: NUK Kiddy Cutlery Forks
 Visit on Amazon →
Here is the part of air fryer cooking nobody writes about. You pull a tray of crisp chicken and roasted carrots out of a 32 quart oven, and then a toddler wants to eat it, and your adult forks are the wrong tool. These are stainless steel kids' forks, BPA and latex free, sized for 18 months and up, sold as a pack of 3.
The tines are rounded enough that a kid stabbing at a piece of roasted sweet potato will not do damage, and the handles are short enough that small hands can actually control them. They go in the dishwasher, which is the only standard I hold cutlery to in a house where dinner happens at 6:15 and cleanup happens at 6:40.
Check current Amazon price. Three forks cost less than one takeout dinner, and keeping them in the drawer means you are not mashing everything into paste with a spoon.
Flaws but not dealbreakers: They are forks, not a full set. If you want spoons and knives to match, that is a different purchase.
Parents of kids in the 18 month to four year range who cook real food and want it eaten will be happy.
The actual cooking workflow
Now the part you came for. This works on any oven-style air fryer, including the machine above.
Step one: preheat, and ignore anyone who says you do not have to. A large cavity takes time to come up to temperature, and food that goes into a cold oven cooks unevenly on the way up. Five minutes at your set temperature is enough. If your machine has a preheat signal, wait for it. If it does not, set a timer.
Step two: figure out your usable footprint. Put your food on the rack in a single layer with about an inch of open space around every piece. The 32 quart number on the box is the volume of the cavity, not the amount of food that will crisp. Air has to move around each piece. Two thin layers always beat one thick pile.
Step three: convert your regular oven recipe. Drop the temperature by 25 degrees Fahrenheit and cut the time by 20 to 25 percent, then check early the first time you make something. A recipe that bakes at 400 for 30 minutes in a wall oven usually lands around 375 for 22 to 25 minutes here. Write down what worked. That note is worth more than any preset.
Step four: dry the surface and oil it lightly. Moisture is the enemy of crisp. Pat chicken thighs, potatoes, and cauliflower dry with a paper towel before they go in. A thin coat of oil, tossed by hand or brushed on, gets you browning. A heavy pour gets you smoke and a greasy tray.
Step five: pick your rack on purpose. The middle rack gives you the most even heat. The upper rack sits closer to the element, which browns faster and burns faster. If you are using two racks, swap them at the halfway point.
Step six: rotate, do not just shake. With a basket fryer you shake. With an oven-style machine you rotate the tray 180 degrees and flip the food. The back corner near the element is the hot spot on almost every unit in this class, and rotating spreads that heat instead of concentrating it on four unlucky potato wedges.
Step seven: use dual cook for a full dinner. Set one program for your protein and another for your vegetables, and stagger the start times so they finish together. This is the feature that turns an air fryer oven into a weeknight tool instead of a weekend toy.
Step eight: probe your meat, do not trust the clock. Chicken needs 165 degrees at the thickest part. Pork loin wants 145 with a rest. A probe thermometer costs less than one ruined roast, and it is the only way to know a large cavity cooked something all the way through.
Step nine: clean it while it is warm. Not hot, warm. A tray that sits until tomorrow turns a two-minute wipe into a fifteen-minute scrub, and that is how appliances end up in a garage.
The caveats nobody mentions
The presets are the biggest one. Presets are programmed for a generic version of a food, and generic means safe and pale. The frozen fry preset on most machines undercooks and skips the preheat. Use it as a starting point and add time, or just cook manually.
Smoke is the second. High fat foods at high heat drip onto a hot element and smoke. Put a little water in the bottom tray if your machine has one, or drop the temperature 25 degrees and add time.
Third, the nonstick. No metal tongs, no aerosol cooking spray, no stacking trays in the sink. Silicone or wooden tools only. Coating that flakes by month three is usually a tool problem, not a manufacturing problem.
Fourth, the counter math. A machine that measures 18 by 17 by 14 inches needs clearance behind it for the fan, above it for steam, and in front of it for the door to swing. Measure before you buy, not after.
Fifth, expectations. This is a small convection oven. It is fast for what it is, but it is not a microwave. A full tray of chicken thighs takes about 25 minutes, and that is normal.
When this machine is not the right call
If you cook for one or two people and mostly reheat and crisp small portions, a basket-style air fryer is a better fit. Basket machines heat up faster, take less counter, and give you a shake-and-go rhythm that suits single servings.
If your goal is genuinely crispy fried chicken with a heavy breading, a basket with a tight, high-velocity fan does better than a large oven cavity, because air moves faster in a smaller space.
If you want to bake, roast, spin a whole chicken, and feed four people from one appliance, the oven-style machine wins, and the one above is the version of that I would buy.
Different jobs, different machines. Nobody needs both, but plenty of people own both and use them for exactly these two reasons.
What this actually costs
The honest answer is that the machine is the cheap part. The expensive part is the counter space and the learning curve, and both of those are one-time costs.
The time math is where an air fryer oven pays you back. A tray of chicken and vegetables takes about 25 minutes of cooking with roughly three minutes of hands-on work. Three batches in a basket fryer would take 45 minutes of cooking and about 12 minutes of standing there, shaking and swapping.
Energy is a smaller factor than people assume, but a countertop oven heating a 32 quart cavity for 25 minutes uses less than a full-size wall oven preheating and running for the same meal. That is the whole argument for owning one.
Prices on both items above move with sales, so Check current Amazon price before you commit rather than trusting a number you read in a review.
The bottom line
An air fryer oven is only as good as the technique you bring to it. Preheat it, give the air somewhere to go, convert your temperatures down, rotate at the halfway mark, and probe your meat. That is the entire method, and it works on a small basket machine and a large capacity air fryer oven alike.
The machine gets you the capacity. The workflow gets you dinner. Run the same checks I run, keep a note on your phone with the times that worked, and you will stop burning the top of things within a week.
That is the job. Your oven was built to do this. Let it.