Most air fryers hide the food from you. You pull the drawer, the heat dumps into the room, and you learn nothing except that the top of the pile is pale while the bottom is two minutes from burning. A 5 quart glass air fryer fixes that. The basket is clear, the chamber is visible, and you can finally watch browning happen in real time instead of opening the drawer every four minutes like a nervous parent.
Glass changes the rules, though. It is heavier than coated steel, it holds heat longer, it does not enjoy a cold rinse while it is still hot, and the no preheat line on the box means something more specific than most people assume. The workflow below is the one I use on glass basket machines, and it is the same workflow whether you are doing frozen fries on a Tuesday or a small cake on a Sunday afternoon.
Why you should trust me
I have been cooking in air fryers for nine years, and the last several of those as a tester rather than a recipe blogger. The pivot happened because my recipes kept failing in machines that ran hot, and I got tired of blaming myself for a thermostat. Since then I have cooked more than 2,000 meals in air fryers, logged cook times for 40 staple foods in every machine that has come through my kitchen, and burned exactly three kitchens' worth of smoke alarms learning where the hot spots live.
My bias is simple. Temperature accuracy decides whether a recipe works. Usable footprint decides whether the capacity number on the box means anything. Airflow decides crispness, not wattage. And a basket that cannot go in the dishwasher is a basket you will resent by month two. I do not do healthy claims either. An air fryer is still fried food. I just like it.
How this guide works
This is not a ranking of every air fryer on the market. It is the workflow for one style of machine, the glass basket, no preheat type, plus the two pieces of gear that tend to show up around it. You point the technique at the machine and the machine stops fighting you.
Every unit I write about has to survive the same protocol: a frozen fry test, a chicken thigh crisp test, a small cake for even heat, and a 30 day daily use trial. I measure the usable footprint with a ruler instead of trusting the box liters, and I log the temperature swing with a probe instead of trusting the dial. When I describe a machine, I am describing those numbers, not the marketing copy on the side of the carton.
The short version of what those tests taught me: the machine matters less than the loading, and the loading matters less than the temperature. Get all three right and a mid priced basket beats a premium one you never learned to use.
The machine you need before you start
You cannot get crisp food out of a machine with a weak fan and a basket that is half air. Start with the unit, then tune the technique around it.
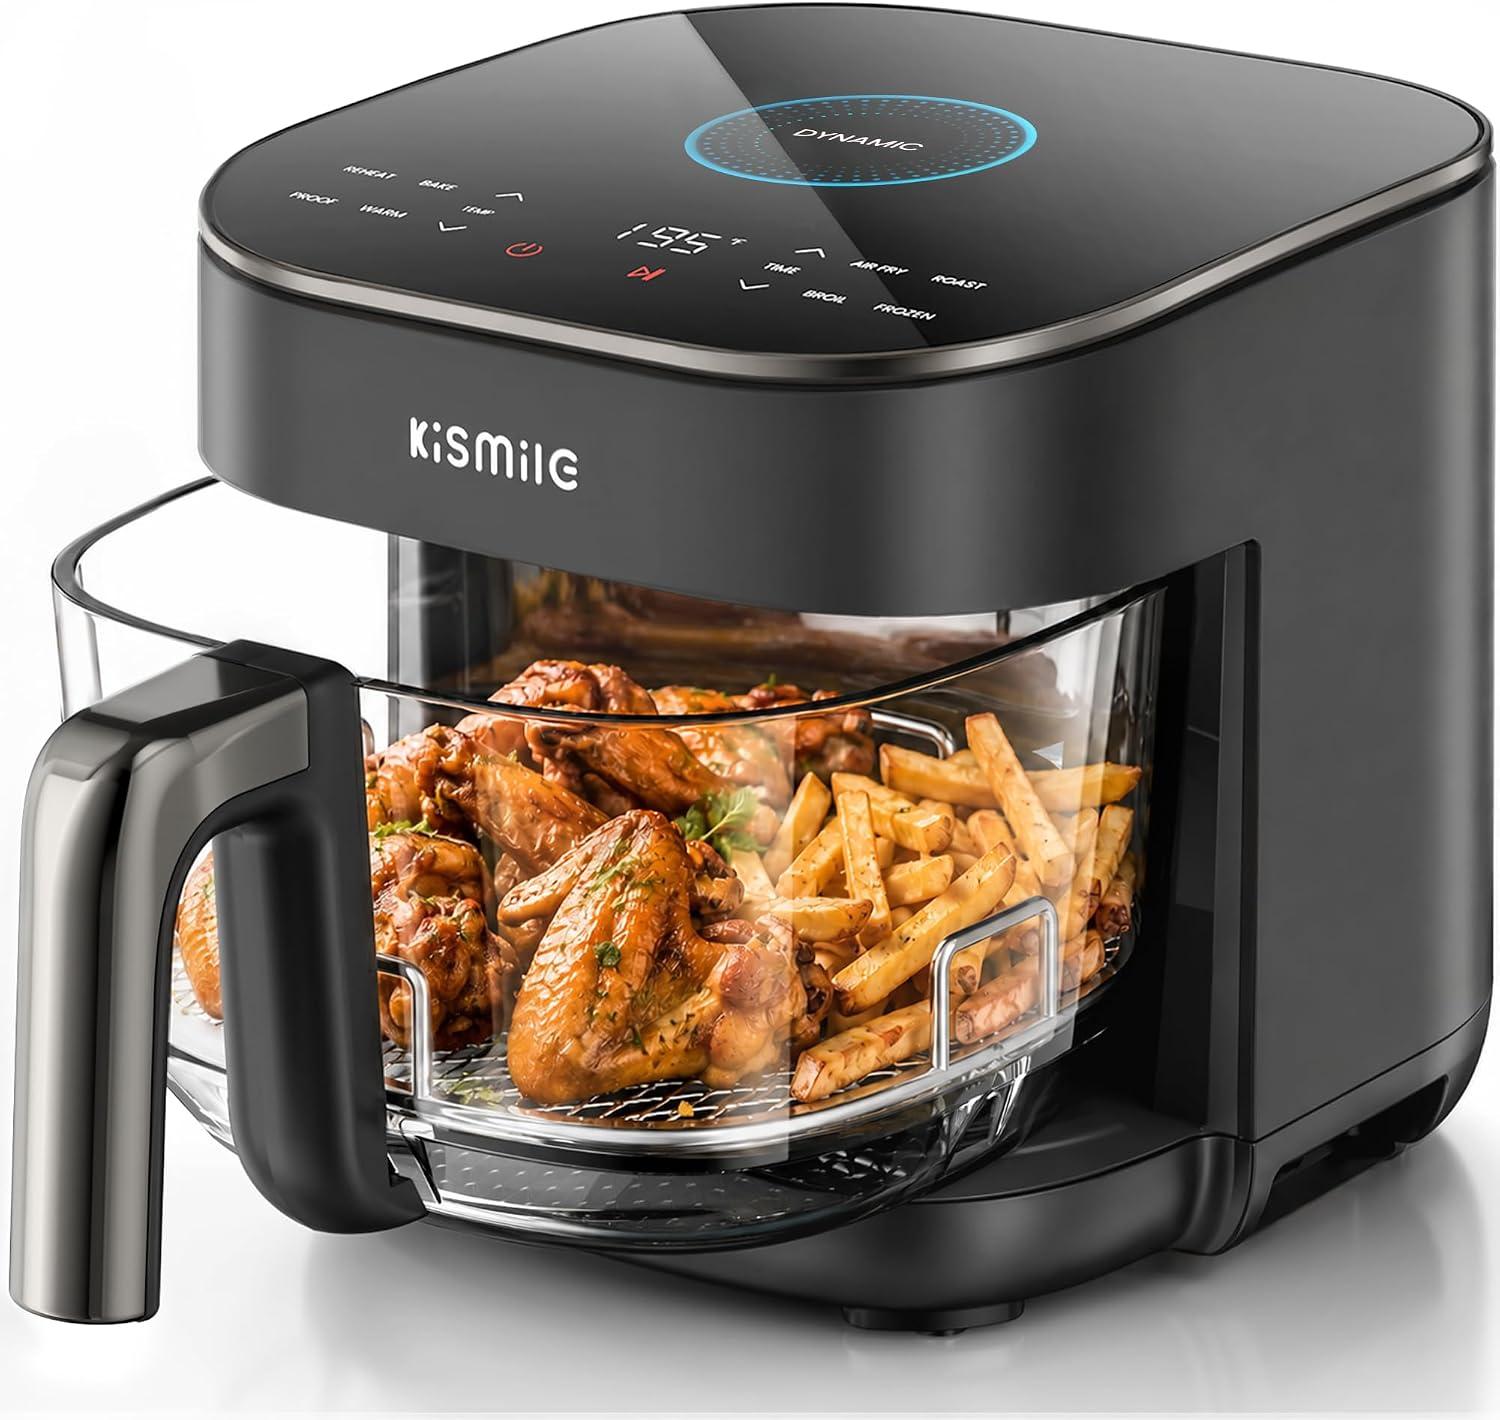
Our pick: Kismile AeroLucen 5 QT Glass Air Fryer, No Preheat, 8-in-1, 450°F
 Visit on Amazon →
Two specs carry this machine, and neither one is the preset count. The first is the glass cooking chamber. A clear basket means you can see the browning edge forming on a chicken thigh without pulling the drawer and dumping your heat into the kitchen. The second is the 450°F ceiling. That top end is what lets you finish a batch hot for a real crisp shell instead of pulling food out pale because the machine tops out at 400.
The 8 in 1 panel is a starting point, not a plan. Presets are built for the average frozen product on the average day, and they are the reason people think air fryers burn things. Use the panel for the temperature suggestion, then set your own time and check with your eyes.
Five quarts is an honest size for two or three people eating fries, wings, or a single layer of vegetables. It is not a five quart pile, because a pile steams, and this whole guide is about avoiding steam. If you are cooking for four or more, or you want a whole chicken in one pass, this is not the machine for that job and no glass basket is.
Check current Amazon price before you commit, since this category moves.
Flaws but not dealbreakers: Glass is heavy, and it stays hot noticeably longer than a coated steel drawer, so plan on a trivet and a pair of tongs. If you want a basket you can knock into the sink without thinking, glass is not that basket. And even if the maker calls it dishwasher safe, hand washing the clear part is what keeps it clear.
Anyone cooking for two or three who wants to see the food instead of guessing at it, and anyone who has been burned by a machine with a 400 degree ceiling and a fan that gives up halfway through, will get the most out of this one.
The gear that travels with your air fryer
This next pick has nothing to do with browning food, and I am not going to pretend otherwise. It is here because a solid chunk of my summer mail is from people cooking in RV kitchens, campsites, and tailgates, and the question is always the same: how do I keep the small stuff dry when the cooking kit lives in the back of a truck.
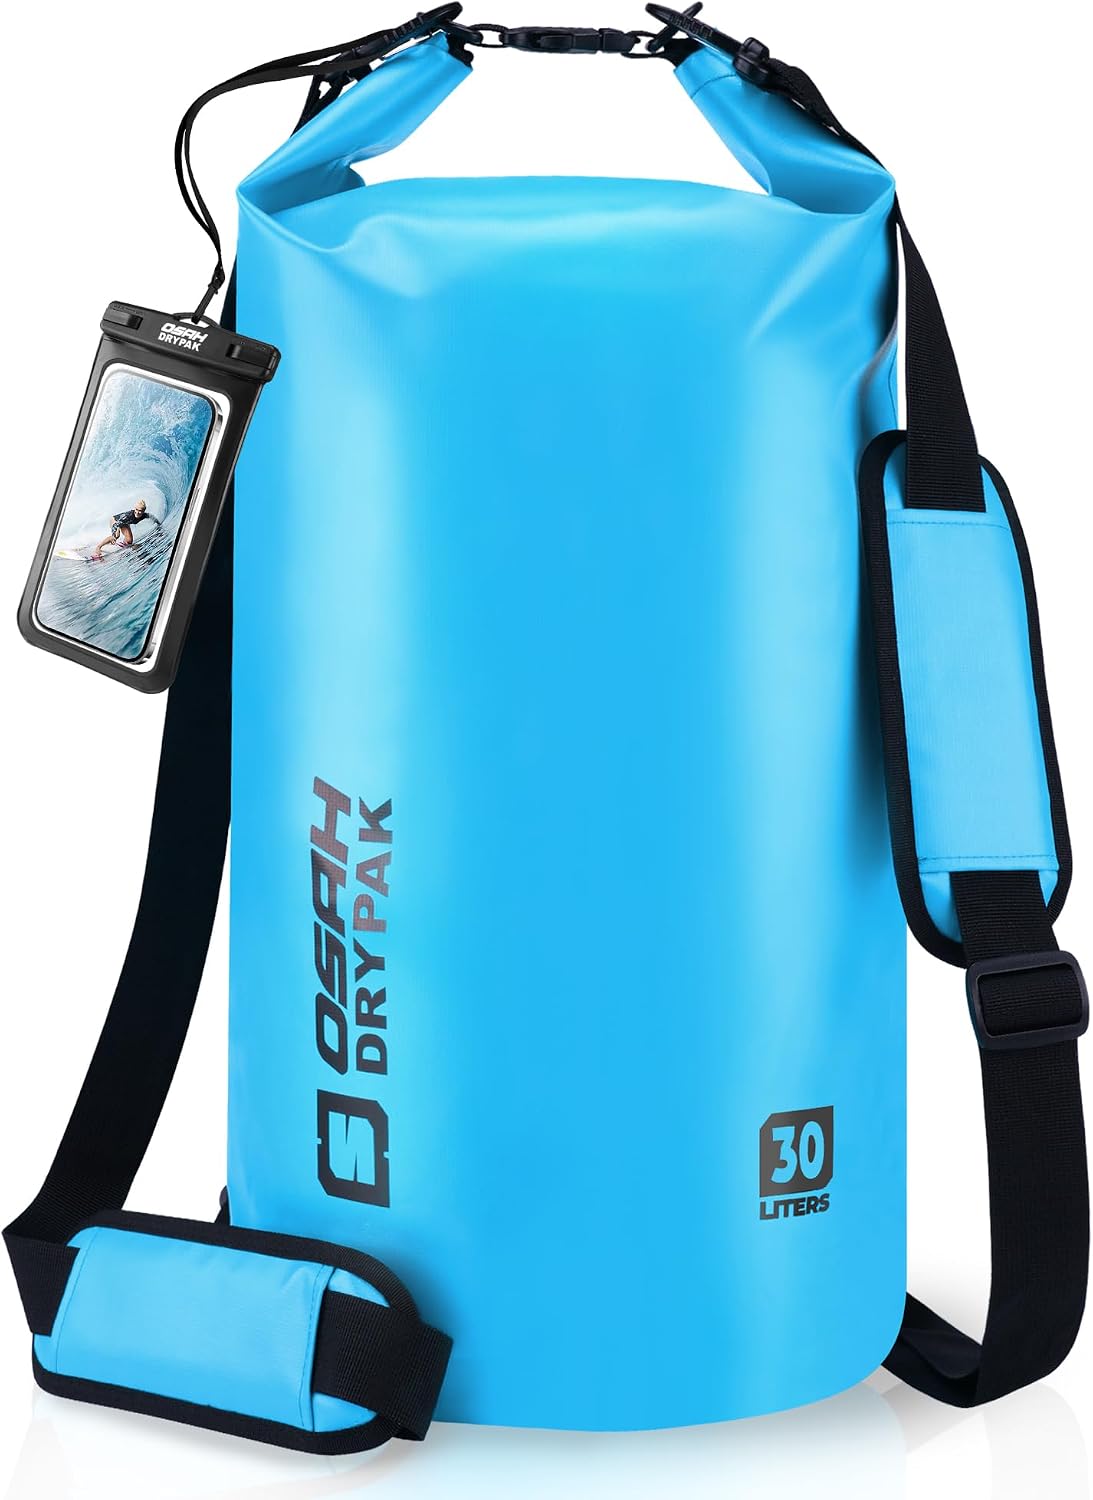
Travel pick: Waterproof Dry Bag, 5L/10L/20L/30L/40L Roll Top Lightweight Storage Backpack with Phone Case for Women & Men, Floating Waterproof Sack for Travel, Swimming, Kayaking, Paddle Board, Camping & Beach
 Visit on Amazon →
Roll top closure, sizes from 5L to 40L, a phone case, and it floats. Around an air fryer, that translates to keeping parchment liners, silicone tongs, a probe thermometer, and the power cord dry in a truck bed or a boat locker, and keeping your phone off a wet picnic table while you cook outside. The 20L is the size I would pick for a small machine's accessory kit. The 5L is a phone and wallet bag, and the 40L is a duffel with a roll top.
Check current Amazon price, and pick your size before you order, because a dry bag that is too big is just a heavy bag.
Flaws but not dealbreakers: A roll top is only waterproof if you roll it three times and clip it. Roll it once and it is a suggestion. It is also not a cooler and not crush proof, so do not put a glass basket in there and expect the glass to survive the trip.
Campers, tailgaters, and anyone who cooks outside in weather will get real use out of it. If your air fryer never leaves the counter, skip this section entirely.
The actual cooking workflow
Now the part you came for. This works on any glass basket air fryer, and most of it works on any air fryer at all.
Step one: Translate the no preheat claim. No preheat means the machine heats fast enough that the maker does not think you need to wait. It does not mean the first batch cooks like the third. On a glass machine, give it two to three minutes empty at your set temperature before the first load, because a cold glass chamber pulls heat out of the food during the first ninety seconds. Skip the wait on batch two and three, when the chamber is already hot.
Step two: Load by usable footprint, not by box liters. The capacity number is the volume of the basket, not the amount of food that will crisp. Single layer, space between the pieces, is the rule. If pieces touch, they steam. If they pile, the bottom burns while the top stays pale, and that is the hot spot everyone blames on the machine.
Step three: Set temperature by food, not by preset. Frozen fries, 400°F. Skin on chicken thighs, 380°F. Dense vegetables, 350°F. A small cake or a custardy bake, 320°F. Then finish anything that needs a shell at 425 to 450 for the last three or four minutes. That final blast is what the 450°F ceiling is actually for, and it is the step most people skip.
Step four: Shake at the halfway mark, and only there. Every time you open the basket, you lose heat and add time. Two shakes for a 20 minute cook. One shake for anything under 12 minutes. More than that and you are just cooling your own dinner.
Step five: Check doneness with a probe, not a timer. Chicken at 165°F in the thickest part. Fries are done when they sound hollow when you shake the basket. A cake is done when a skewer comes out with crumbs, not batter. Timers are a starting guess, and every machine disagrees with every other machine about them.
Step six: Rest food on a rack, not a plate. Steam that cannot escape the bottom of the pile comes right back up and softens the crust you just built. Thirty seconds on a wire rack does more for crispness than another two minutes in the basket.
Step seven: Clean the glass warm, never hot and never cold. Thermal shock is the one genuine risk with a glass basket. Let it cool until you can hold it through a towel, then wash it in warm water. Never run cold water into a hot glass basket, and never set a hot one on a cold stone counter.
Step eight: Dry it fully and store it open. Moisture sitting in a closed chamber is how a machine starts to smell like last week's fish. Dry the glass, leave the basket slightly open, and it will be neutral the next time you cook.
One caveat worth repeating: anything with a lot of surface fat will smoke at 425 and above, and a glass chamber shows you that smoke faster than a steel one does. If you see it, drop to 400, add a splash of water under the rack if your machine allows it, and finish there.
What this guide is not
This is not the dual basket guide. A two zone machine is a great tool for cooking two proteins at once, and it is the right answer for a family of five, but the footprint is enormous and the workflow is different, because you are managing two chambers and two sets of timings instead of one.
This is not the oven style guide either. A countertop convection oven with racks is a small oven, not an air fryer, and it wins on volume while losing on crispness per minute.
And this is not a defense of cheap no name units. Those run hot, cook unevenly, and the coating flakes by month three. A clear basket and a 450°F ceiling from a maker who will still be around next year is a better use of the same counter space.
What this all costs
I am not going to quote you prices, because they move and both links above will show you the current number. What I can give you is the math that actually matters. A machine you cook in five nights a week costs pennies per meal no matter what you paid for it. A machine you fight with is expensive at any price, because you stop using it by month two and it becomes a very large bread box.
The workflow above costs nothing. It asks for two things: stop trusting presets, and start trusting your eyes. That is the entire advantage of a glass basket. The machine shows you the truth about what is happening to your food, and the only way to waste that is to walk away from it.
Set it at 380, shake at 10 minutes, finish hot for three, and dinner is done.