Most air fryer problems are temperature problems wearing a costume. The fries come out pale on one side and carbonized on the other, chicken thighs go from raw to rubbery in four minutes, and a cake rises into a lopsided dome with one burnt shoulder. You blame the recipe. The recipe is usually fine. The machine is running hot, or the airflow is uneven, or you picked a preset that sounds like a temperature but is really just a timer with a guess attached.
Air fryer temperature calibration is not a gadget hobby. It is a habit: learn what your machine actually does at 380 degrees, find where its hot spot lives, and cook around both. I have cooked more than 2,000 meals in air fryers and kept a temperature log for every machine that has sat on my counter, and the pattern never changes. The units that cook evenly are the ones somebody took twenty minutes to understand.
What follows is the workflow I run on any new machine, in order, plus two machines that make that workflow easier because of how they are built.
Why you should trust me
I have been a food blogger for nine years, and I moved into air fryer testing the hard way: my own recipes kept failing in readers' machines. A recipe that worked in mine came out burnt in theirs, and the difference was almost always temperature accuracy, not skill.
Since then I have run every machine through the same protocol. A frozen fry test for even browning. A chicken thigh crisp test for skin and rendered fat. A cake test for hot spots, because a cake shows you exactly where heat concentrates. Then a 30-day daily-use trial cooking real dinners instead of pushing preset buttons. I keep a spreadsheet of cook times for 40 staple foods per machine, and I do not make a temperature claim about any unit unless I have measured it with a probe.
Two rules I hold myself to: no review without at least 20 real cooks across 10 food types, and no "healthy" talk. An air fryer is still fried food. I just like it.
How I picked and how I tested
This is not a best air fryer list. It is the short list of what you need to run the calibration workflow, and there are really only two features that matter for it.
First, a cooking surface you can see and map. Basket machines hide the hot spot under a pile of food. A flat rack tells you the truth the first time you lay bread across it.
Second, a way to read the temperature of the food itself. A built-in probe or a wireless meat thermometer turns "cook 18 minutes and pray" into a number you can act on.
Both machines below cover one of those two jobs well, and neither one requires you to buy a separate thermometer to get started.
Every unit that comes through my kitchen gets the same frozen fry test, the same chicken thigh crisp test, the same cake test, and the same 30-day daily-use trial. I measure the temperature swing at the center and at the corners. A machine that holds within 10 degrees of the set temperature earns my trust. A machine that swings 40 degrees hot gets a note taped to it so I stop ruining dinner.
Two machines that make the workflow easier
You do not need a new air fryer to calibrate the one you own. But if you are buying, buy for the two things that make calibration possible: usable cooking surface and a real temperature reading.
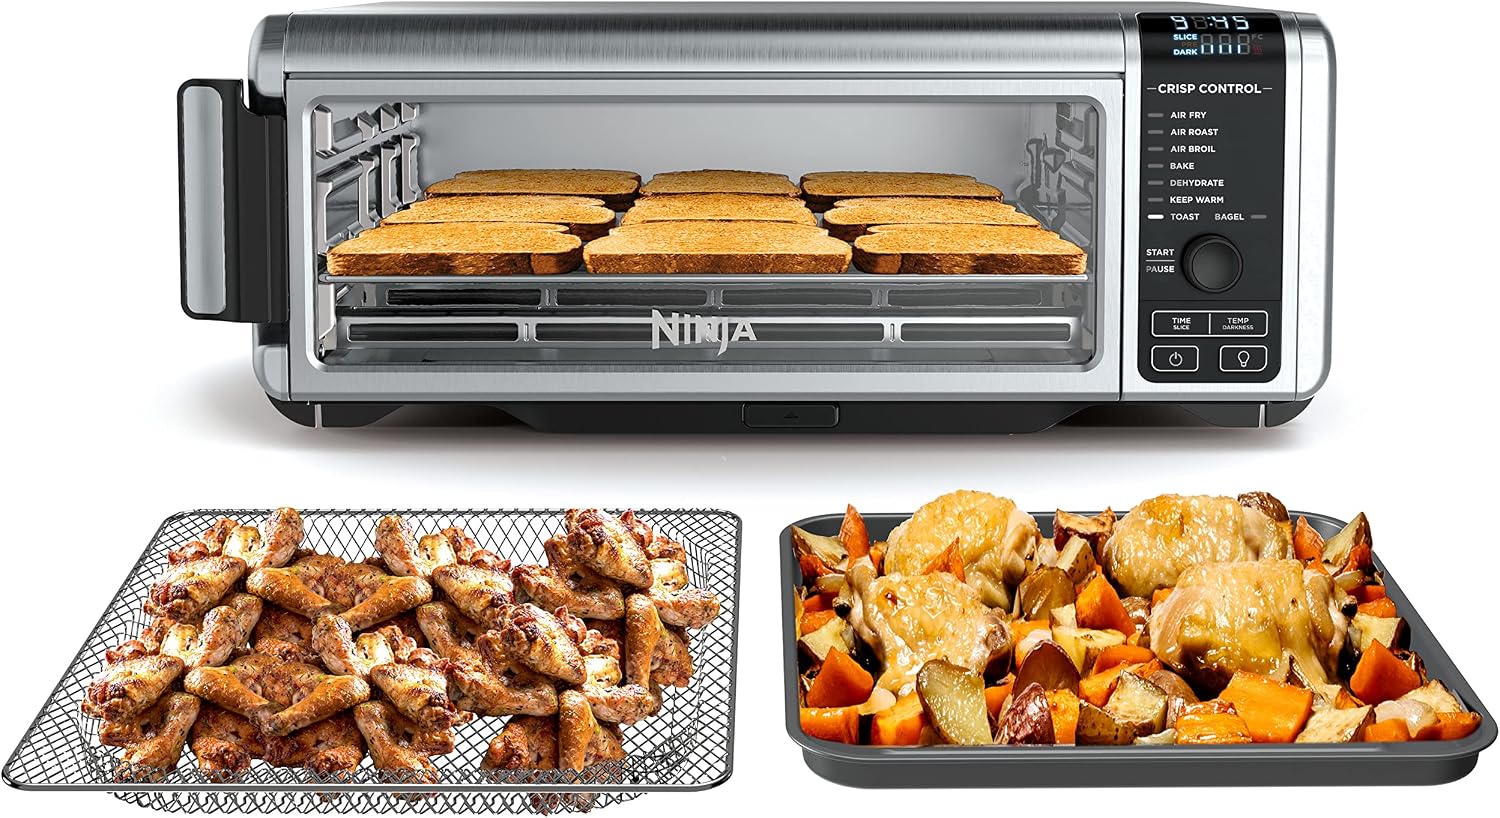
The oven-style pick: Ninja Digital Air Fry Countertop Oven, 8-in-1, XL, Silver, SP101
 Visit on Amazon →
Oven-style machines are the easiest air fryers to calibrate, and this is the format I hand people who cook for more than two. The rack is flat and wide, which means the bread grid test actually works: lay six slices across it, run 350 for five minutes, and the slices that darken first show you the hot corner. You cannot do that in a deep basket.
The eight functions matter more than the marketing suggests. Being able to run the same chicken thighs on air fry and on bake, back to back, tells you how much of the crisp comes from the fan and how much comes from the element. That kind of comparison teaches you your machine instead of teaching you a preset.
The XL footprint is the other half of it. A bigger usable surface means food sits in a single layer, and a single layer is what even browning looks like. Pile food two deep and the middle steams while the top burns, no matter how accurate the thermostat is.
Flaws but not dealbreakers: It takes up real counter space, and it is not a machine you tuck into a cabinet between uses. It also wants an actual preheat. Ignore any instinct to skip it and give the oven five minutes; cold-start cooking is where lopsided results come from.
Anyone feeding three or four people, or anyone who wants to watch the hot spot move as the fan cycles, will get the most out of this format.
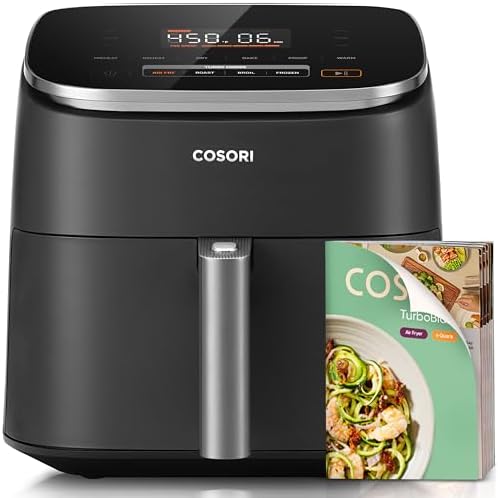
The probe-first pick: Typhur Sync 8QT AI Smart Air Fryer with Built-in Wireless Meat Thermometer
 Visit on Amazon →
This is the machine I point people to when their problem is protein, not potatoes. The built-in wireless meat thermometer is the whole reason it is here. Most air fryer disappointment with chicken, pork, and steak comes from cooking to a clock instead of to a temperature, and a probe that stays in the food while the drawer runs removes that guess entirely.
That changes the calibration conversation. Instead of asking whether the machine runs 20 degrees hot, you ask whether the thigh hit 175 in the middle, and you adjust the setting until the answer is yes at the time you want to eat. The 8-quart capacity gives you room for a spatchcocked chicken or a tray of thighs in one layer, which is exactly the arrangement a probe needs in order to read true.
The AI side is a starting point, not an answer. Treat the smart settings the way I treat every preset: useful for the first cook, worth verifying on the second. Your probe is the referee.
Flaws but not dealbreakers: The thermometer is one more thing to clean and store, and if the probe goes missing the machine loses half its advantage. A probe also reads the center of one piece of food. It cannot tell you that the back corner of the drawer runs hot, so you still need the bread test.
Anyone who cooks chicken, pork, or steak more often than they cook fries should start here.
The actual calibration workflow
This works on any air fryer, basket or oven style, with or without a probe.
Step one: Preheat for real. Most machines claim you can skip it. Skip it and you get a cold start, which means the first four minutes run at a temperature you did not choose. Run five minutes at your target temperature with nothing in the machine. It costs five minutes and saves a lot of pale food.
Step two: Find the hot spot. Lay slices of bread in a single layer across the entire cooking surface. Run 350 degrees for four to five minutes, then pull them. The darkest slice marks your hot corner. Write it down. On most machines it is a corner near the back, and on some it is an entire side.
Step three: Check the set temperature against reality. Put an oven thermometer or a probe in the center of the empty cooking area and run the machine at 375 for 15 minutes. If it reads 400, your machine runs 25 degrees hot and every recipe you own needs to come down accordingly. If it reads 350, the machine runs cold, which is why your fries never crisp. Do this once, then do it again after a year, because elements age.
Step four: Adjust your recipes by the delta. This is the step people skip. If the machine runs 25 hot, set 25 lower than the recipe says. If it runs cold, add 25. Then change only one variable at a time. Turning down the temperature and shortening the time in the same cook tells you nothing.
Step five: Build your own cook times for the ten foods you actually eat. Frozen fries, chicken thighs, salmon, roasted vegetables, reheated pizza, whatever your week looks like. Log the time, the temperature, and the result for each one. After a week you have a personal cookbook and you stop opening the manual.
Step six: Treat the coating like it costs money. It does. No metal tongs, no metal spatulas, no abrasive scrubbers. A silicone brush is fine. Soap, warm water, and a soft sponge are fine. If your basket or rack claims to be dishwasher safe, check it after every cycle for warping, because a warped tray changes your hot spot map.
Step seven: Tape the cheat sheet to the machine. Not in a note app. On the machine. The temperature delta, the hot corner, the cook time for your three most common dinners. You will use it, and it is the difference between calibration being a one-time project and calibration being the reason your dinners stopped burning.
Where this workflow breaks down
Calibration fixes temperature error and teaches you where heat concentrates. It does not fix everything, and it is worth knowing which problems are not yours to solve.
If a machine smokes at 400 degrees, that is usually fat dripping onto an element or a coating breaking down, and no temperature adjustment will save it. If the nonstick coating flakes within a few months of normal use, the problem is the coating, not your technique. If a basket warps after a dishwasher cycle it claims to survive, that is a spec problem. And if the airflow design is weak, you can dial the temperature perfectly and still get a tray where the bottom is soggy and the top is dry, because crispness is a fan job.
preheat real talk: Some machines claim no preheat is needed and then cook like they need one. The bread test will tell you which kind you own.
What this all costs
The workflow itself costs nothing but time. The gear is where money enters: the machine, which you can price at the link above, and a probe or oven thermometer if your air fryer does not have one. If you are choosing between spending more on capacity and spending more on temperature control, buy the temperature control first. Capacity without it just means a bigger pile of uneven food.
Spread the cost across the years you will keep the machine and it lands somewhere near a couple of takeout dinners a month. That math only works if the machine actually cooks dinner, which is what calibration buys you.
The honest summary
Your air fryer is not broken because it burns the back-left corner. It is unpredictable because nobody mapped it. Preheat, find the hot spot, measure the real temperature, adjust, and write it down. Twenty minutes, once, and the machine starts behaving like the appliance you paid for.
That is the job. It is a temperature tool. Treat it like one.