Air fryer temperature calibration is the difference between a basket of golden fries and a tray of pale, burnt-edged disappointment. The dial says 380 and the machine quietly does something else, and your recipe pays for it. That gap is why the same frozen fries that come out perfect at a friend's house turn into charcoal in your kitchen.
I have cooked more than 2,000 meals in air fryers, and I keep a spreadsheet of cook times for 40 staple foods per machine. I do not trust a preset button and I do not trust the number printed on the front of the unit. I trust a probe, a log, and a test batch of frozen fries.
The good news is that calibration is a 20-minute job you do once, then live off with two adjusted numbers for the rest of the machine's life. Here is the whole workflow, plus the two small machines I would start with if you are buying one this month.
Why you should trust me
I am Priya, a Chicago food blogger of nine years who pivoted into air fryer testing after my own recipes kept failing in machines that ran hot. Every unit that lands in my kitchen gets the same four-part trial: a frozen fry test, a chicken thigh crisp test, a small cake for even heat, and 30 days of daily-use cooking. I keep a probe log for every cook, not just the interesting ones.
My rules are simple. No review without at least 20 real cooks across 10 food types. No temperature claim without a probe reading. No "healthy" talk, because an air fryer is still fried food, I just happen to love it. And no credit for a basket that claims dishwasher safe and warps anyway.
How I picked and how I tested
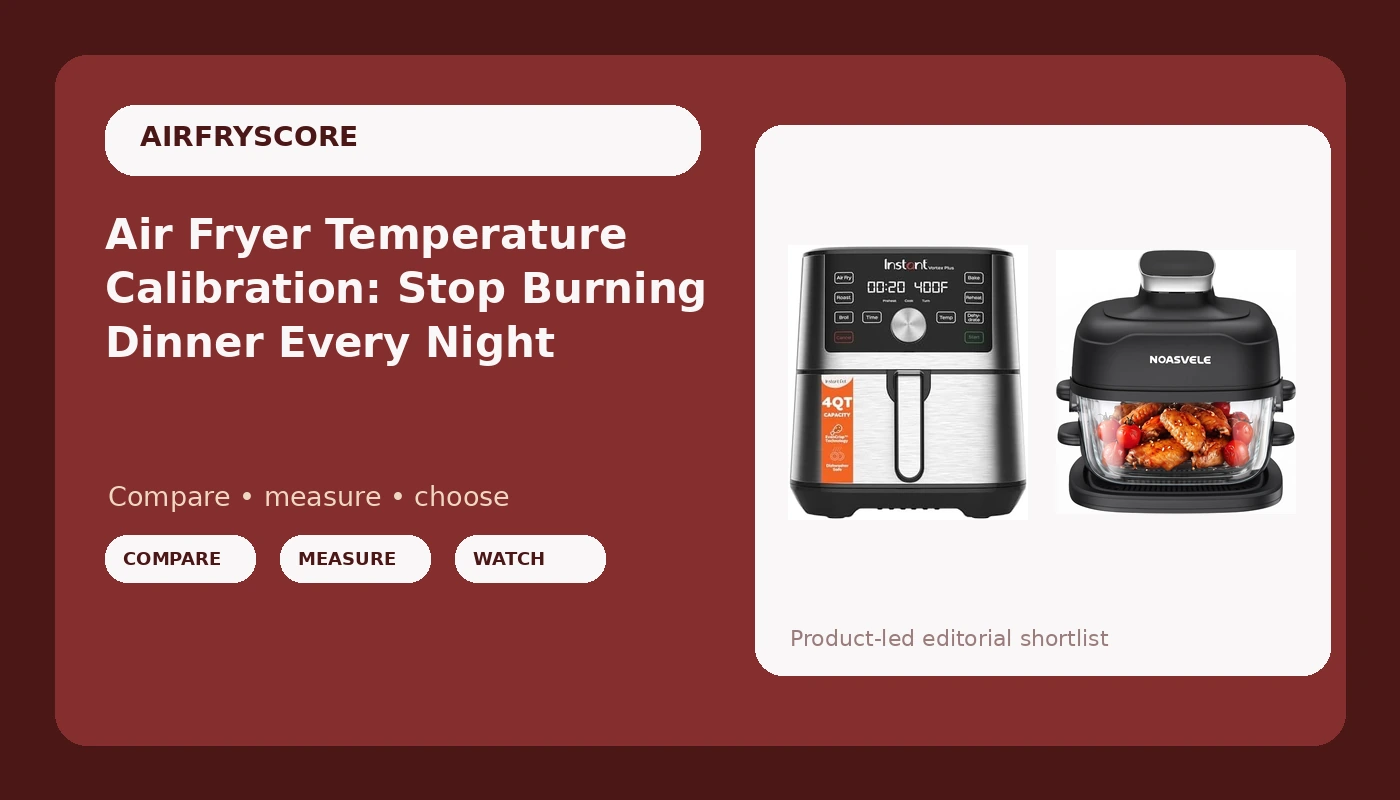
This guide runs on two small machines, the 4-quart Instant Pot Vortex Plus Mini and a 4-in-1 glass air fryer with a crisper plate. Both are countertop friendly, both are the size I tell most people to buy first, and both respond to calibration exactly the way a big machine does.
Here is what I did with each one. I ran a probe at the center of the basket and in the corners, because the corner is where the hot spot lives. I cooked frozen fries straight from the bag, bone-in chicken thighs, and a small cake to see where the heat actually lands. I measured usable footprint instead of trusting box liters, because basket size is a lie if the actual cooking surface is half of it. Then I cooked dinner in each unit every night for 30 days and wrote down what drifted.
What I learned, again: crispness comes from airflow, not wattage. A 1,400-watt machine with a good fan beats a 1,700-watt machine with a lazy one every time. Temperature accuracy is the whole game. A machine that runs hot ruins every recipe you trust it with, and no amount of recipe tweaking saves you until you fix the set point.
The two small machines I would start with
You can calibrate any air fryer, but your first month goes much better with a unit that holds temperature well to begin with. These are the two I keep recommending to people who cook for one or two and do not want a machine that eats the counter.
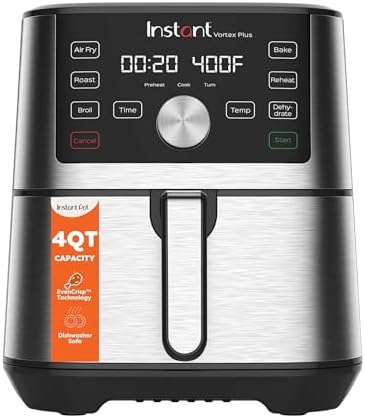
Best small machine for most kitchens: Instant Pot Vortex Plus Mini 4 Qt 6-in-1 Air Fryer, Stainless Steel
 Visit on Amazon →
The Vortex line is the best value in air fryers, and the Mini is the version I hand to anyone cooking for one or two. Four quarts sounds small on paper and it is small in practice, which is the point: a small basket heats faster, recovers temperature faster after you open it, and swings less across a cook. The 6-in-1 functions cover the basics, and the stainless steel body wipes down instead of staining. In my probe logs, the Vortex units are the ones I have to correct the least, which is exactly what you want before you start calibrating.
Flaws but not dealbreakers: Four quarts means two chicken thighs or one layer of fries at a time. If you are feeding four people, you will cook in batches, and the second batch always finishes faster than the first. Buy this one for the accuracy, not the volume.
Anyone cooking for one or two, or anyone in an apartment with a small counter, will get the most out of this machine.
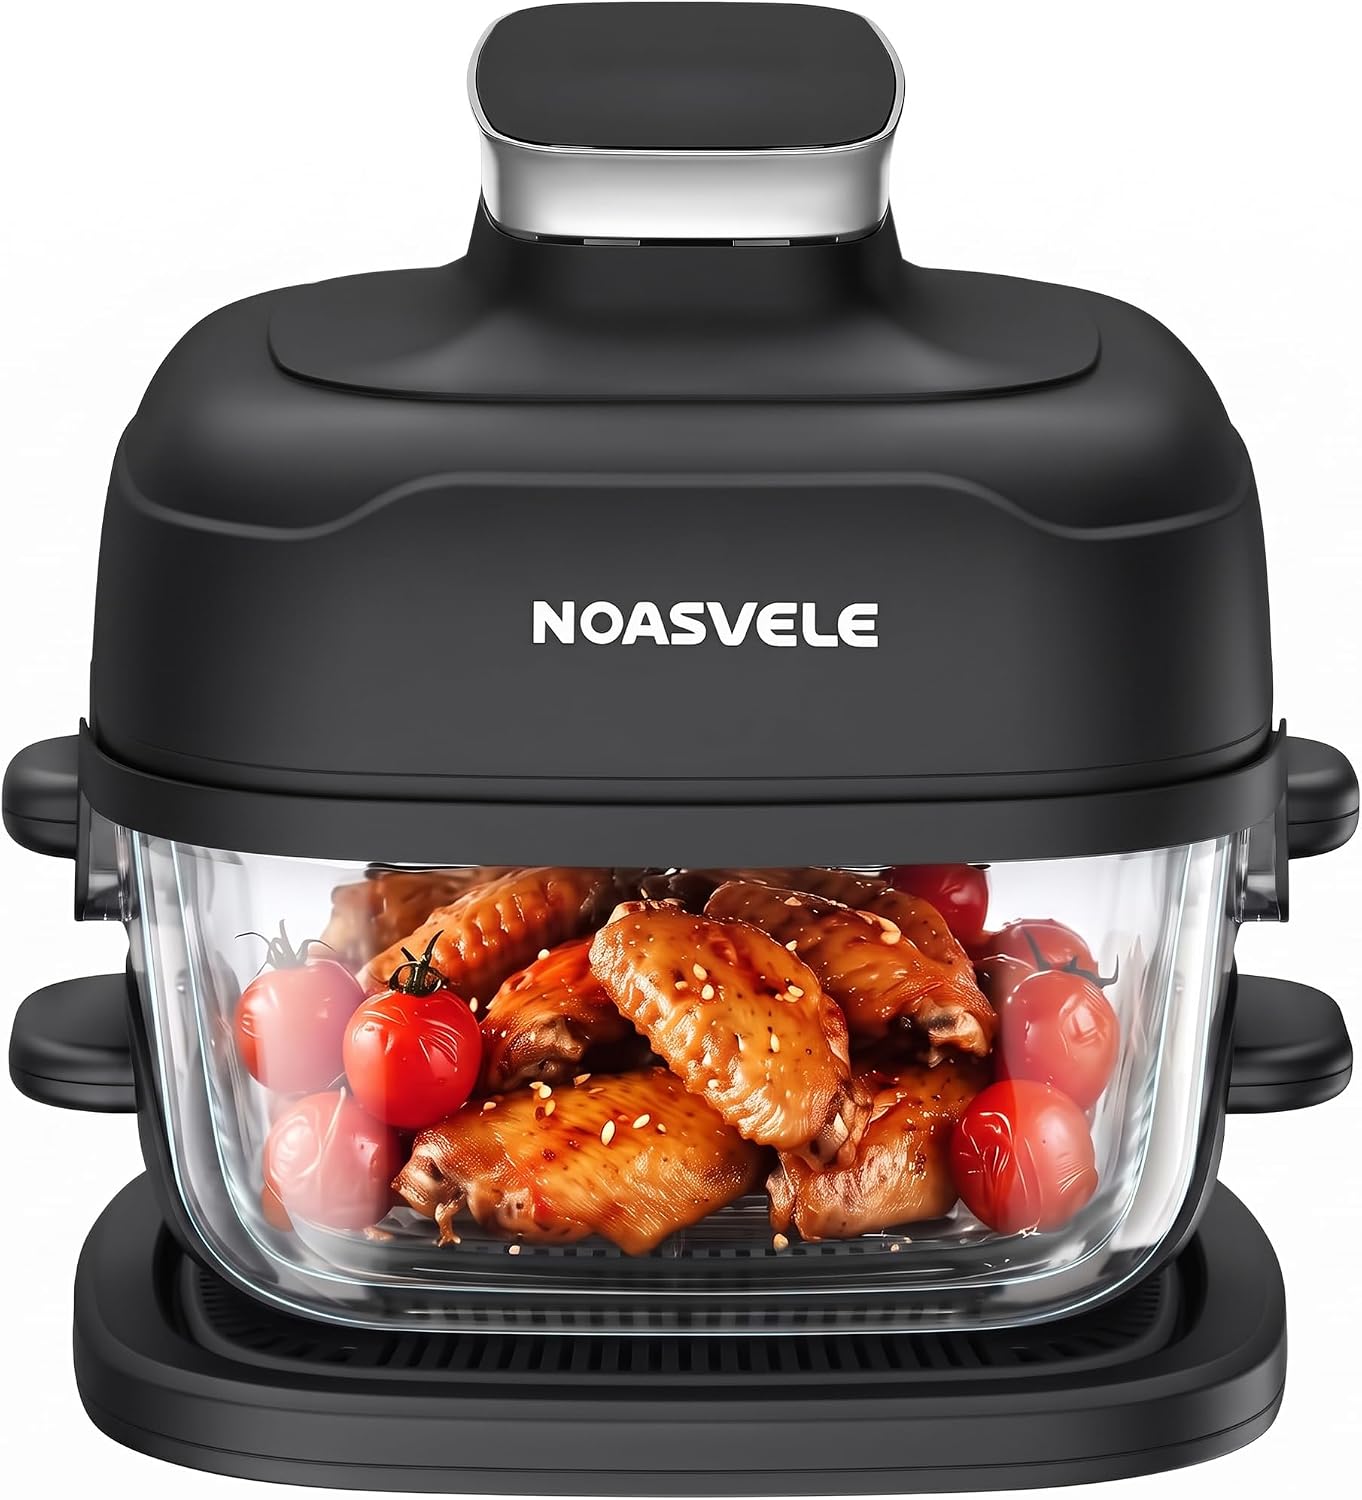
Best for watching the cook: Glass Air Fryer with Crisper Plate, 4-in-1, AF115-1,Black
 Visit on Amazon →
A glass body changes how you cook. You can watch browning happen instead of pulling the basket every four minutes and dumping the heat out with it, and when you are in the middle of a calibration test, that view is worth real money. The crisper plate lifts food off the floor of the basket so air moves underneath, which is where the bottom crisp comes from. The 4-in-1 layout covers the standard functions, and the black finish hides the fingerprints a stainless body collects.
Flaws but not dealbreakers: Expect a glass body to feel heavier in the hand than a thin steel basket, and plan for that when it is hot. It also shows every smear, so keep a microfiber cloth nearby.
Anyone who wants to see the food instead of guessing, and anyone who cooks a lot of things that go from pale to dark in 90 seconds, should look here.
The calibration workflow, step by step
Now the part you came for. This works on any air fryer with a temperature dial or a digital set point, and it takes about 20 minutes the first time.
Step one: preheat real talk. Most small machines claim you can skip the preheat. Cook like they need it anyway. Three to five minutes at your set temperature before the food goes in gets the basket walls hot, and hot walls are what give you a sear on the outside of a chicken thigh. If your manual says no preheat, do it anyway and log the difference.
Step two: run the frozen fry test first. One layer of frozen fries, no oil, at the temperature on the bag. Shake at the halfway mark and note the time when they are actually done versus when the bag says they should be. That difference is your machine's honesty score, and it is the number you will use for every other frozen food.
Step three: probe the actual temperature. Put an oven thermometer in the center of the empty basket, set the machine to 375, and let it run 10 minutes. Read it through the glass, or pull the basket fast and read it immediately. Do the same at 400. Write both numbers down.
Step four: find the hot spot. Lay slices of bread in a single layer across the whole usable footprint and run 5 minutes at 350. The darkest slice marks your hot spot. On most machines it is a corner, or the side closest to the heating element. Now you know which part of the basket to keep clear when you cook something delicate.
Step five: set your offset. If your machine reads 25 degrees hot at 375, you have two choices. Set it 25 degrees lower, or shorten the cook. I do both, because a hot machine does not just cook faster, it cooks unevenly. Most digital units let you drop the set point in 5-degree steps, which is enough to close a small gap.
Step six: rebuild your cook times. Take your three or four most cooked foods and run them again at the corrected temperature. Write down the new times. This is the whole payoff. Once your times match your machine, you stop hovering over it and you stop burning dinner.
Step seven: leave the presets alone. Presets are for people who do not cook. They are built around a generic basket, and a generic basket is not what you own. Use your own logged times and ignore the fish button forever.
The mistakes that ruin a calibrated machine
Crowding the basket. Airflow is the entire mechanism. Two layers of fries means the bottom layer steams while the top layer burns, and no temperature setting fixes that. Cook in batches and keep the usable footprint honest.
Shaking too late. Shake at the halfway point of the actual cook time, not the time on the bag. On a fast machine that might be minute six instead of minute eight.
Cranking to 400 for everything. Some machines smoke at 400. If yours does, back down to 380 and add two minutes. You lose almost nothing in crispness and you save your smoke alarm.
Scrubbing the basket. A silicone brush should not scratch a coating, but it happens. Soak, wipe with a soft sponge, and hand wash anything that claims dishwasher safe if you want the coating to survive month three. Cheap no-name units flake by then anyway, and that is the real cost of saving money up front.
What this guide is not
This is a small-machine guide. If you need to cook two proteins at once for a family of five, a dual-basket machine is a different purchase with a different footprint, and the calibration steps here still apply to it once it is on your counter. If you want a big single-basket unit, same answer. I am not going to pretend a 4-quart machine feeds a crowd, and I am not going to tell you to buy the biggest box on the shelf when a small one holds temperature better.
What the calibration costs you
Nothing but 20 minutes and a probe. Run the frozen fry test, log the real temperature at two settings, mark your hot spot, and set your offset. Then cook your staple foods once more at the corrected numbers and write the times on a note stuck to the fridge.
That is the whole job. The machine you already own can cook better than it does right now, and the fix is not a new purchase. It is two numbers and a slice of bread.