Nine times out of ten, when someone tells me their air fryer burns the outside of a chicken thigh and leaves the middle underdone, the machine is not the problem. The problem is a wet surface, a puddle of oil in one corner, and a basket loaded past its usable footprint. An air fryer olive oil sprayer and a chamber you can actually see into solve most of that before the food ever meets the heat.
I have been cooking in basket-style air fryers since they first showed up in American kitchens, and I keep a spreadsheet of cook times for 40 staple foods across every machine that has come through my kitchen. The pattern never changes. Airflow and oil distribution decide the outcome. Wattage gets the credit and does not deserve it.
This is the workflow I run in order, every time, whether I am cooking frozen fries for one or dinner for four. Two pieces of gear do a lot of the heavy lifting, and the steps near the end are the ones that matter most.
Why you should trust me
I am Priya, a food blogger in Chicago who has spent nine years cooking and writing about small kitchen appliances. Somewhere past the 2,000-meal mark I stopped trusting my own instincts and started trusting a probe and a notebook. Every air fryer that lands in my kitchen gets the same four-part trial: a basket of frozen fries straight from the bag, a bone-in chicken thigh to check crisp skin and cooked-through meat, a small cake to see whether heat is even across the whole chamber, and then 30 days of real dinners.
The cake test is the one that separates machines. A cake has no crust to hide behind and no seasoning to distract you. If the chamber has a hot spot, you get one dark shoulder and one pale shoulder, and you can taste the difference. I do not publish a temperature claim I cannot back with a probe reading, and I do not call any of this healthy eating. An air fryer is still fried food. I just like it, and I like it better when it is even.
How I picked and how I tested
This is not a machine-versus-machine buying guide. It is the setup I reach for when I want a batch to come out the same on the left as it does on the right, and the criteria are narrow.
For the machine, I care about four things. Does it hold temperature close to the set number for the length of a cook? Is the usable footprint, meaning the actual cooking surface after the basket walls, close to what the box liters promise? Does the coating survive a month of daily use with a silicone brush and a dishwasher cycle? And can I see the food without pulling the drawer and dumping heat into the room?
For the oil tool, the criteria are simpler. Does it lay down a thin, even coat instead of a puddle? Does the nozzle stay clear after a week of use? Can I fill it with the oil I actually cook with instead of whatever propellant blend comes in an aerosol can?
I ran both items below through the same routine I run everything through: repeated cooks, the same four foods, and a hard look at what annoyed me after the novelty wore off. Everything in this guide earned its place on the counter.
What you need before you start
You can follow every step below in any air fryer with any oil delivery method. These two items just make the steps easier, and both have lived on my counter long enough that I stopped thinking about them, which is the highest compliment I can pay a kitchen tool.
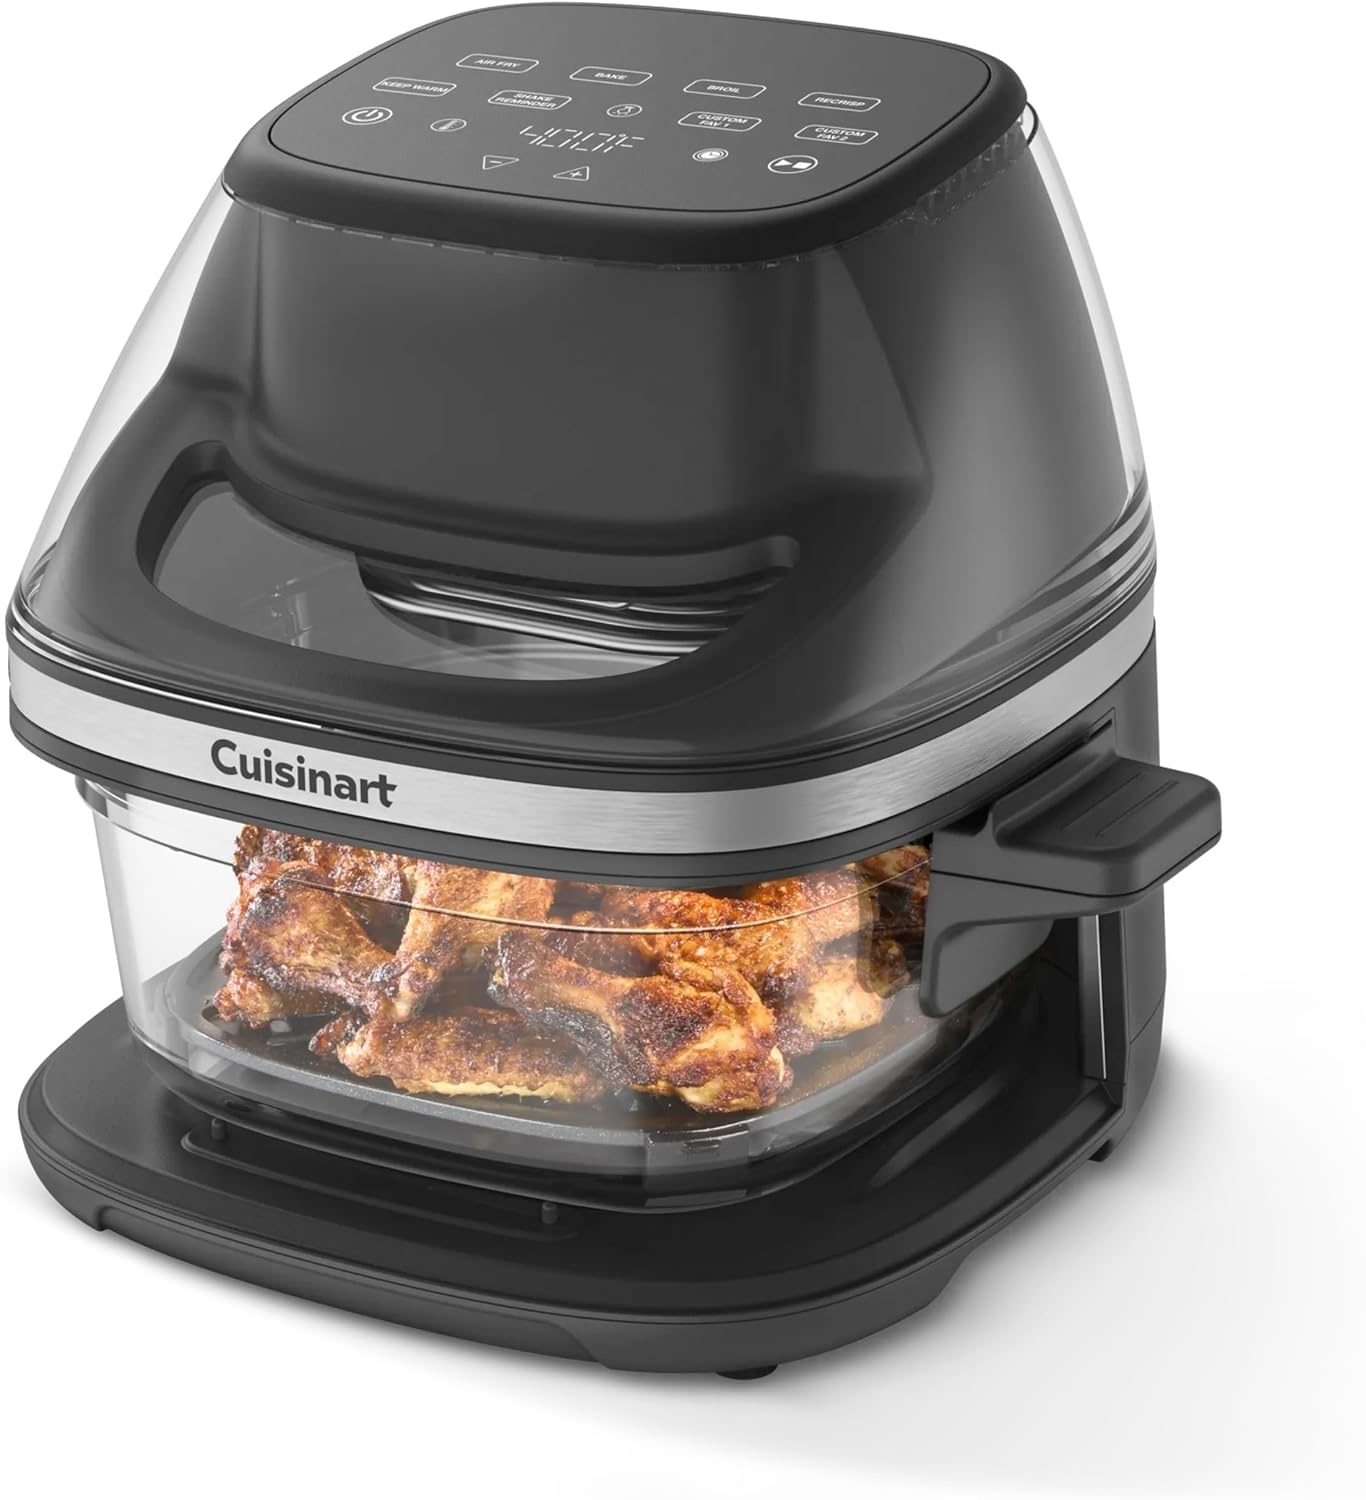
Our pick: Cuisinart Air Fryer, Glass Basket & ClearView Window, 5 Functions, 4 Qt
 Visit on Amazon →
Check current Amazon price before you commit, because this one moves with the season.
The reason I keep recommending a glass basket has nothing to do with looks. It has to do with the single most common mistake in air frying, which is opening the drawer every three minutes to check on dinner. Every time you pull that basket, you dump the hot air you spent minutes building, and the machine has to climb back. With a glass basket and the ClearView window, you watch the browning happen and you leave the door alone. That is a technique fix disguised as a feature.
The 4 Qt size is honest for two people eating a real dinner, and the five functions mean it does more than one job, so it is not fighting for cabinet space against a toaster oven it duplicates. The tradeoff is that a 4 Qt box is not a 4 Qt cooking surface. Measure the flat area inside the basket before you plan a meal for five, and cook in a single layer when you want crisp results rather than steamed ones.
Flaws but not dealbreakers: Glass is heavier than a coated metal drawer, and it wants a gentler hand in the sink. If you have a family of five and cook one big batch a night, this is not the capacity for you.
Anyone cooking for one or two who wants to watch the food instead of guessing will get the most out of it.
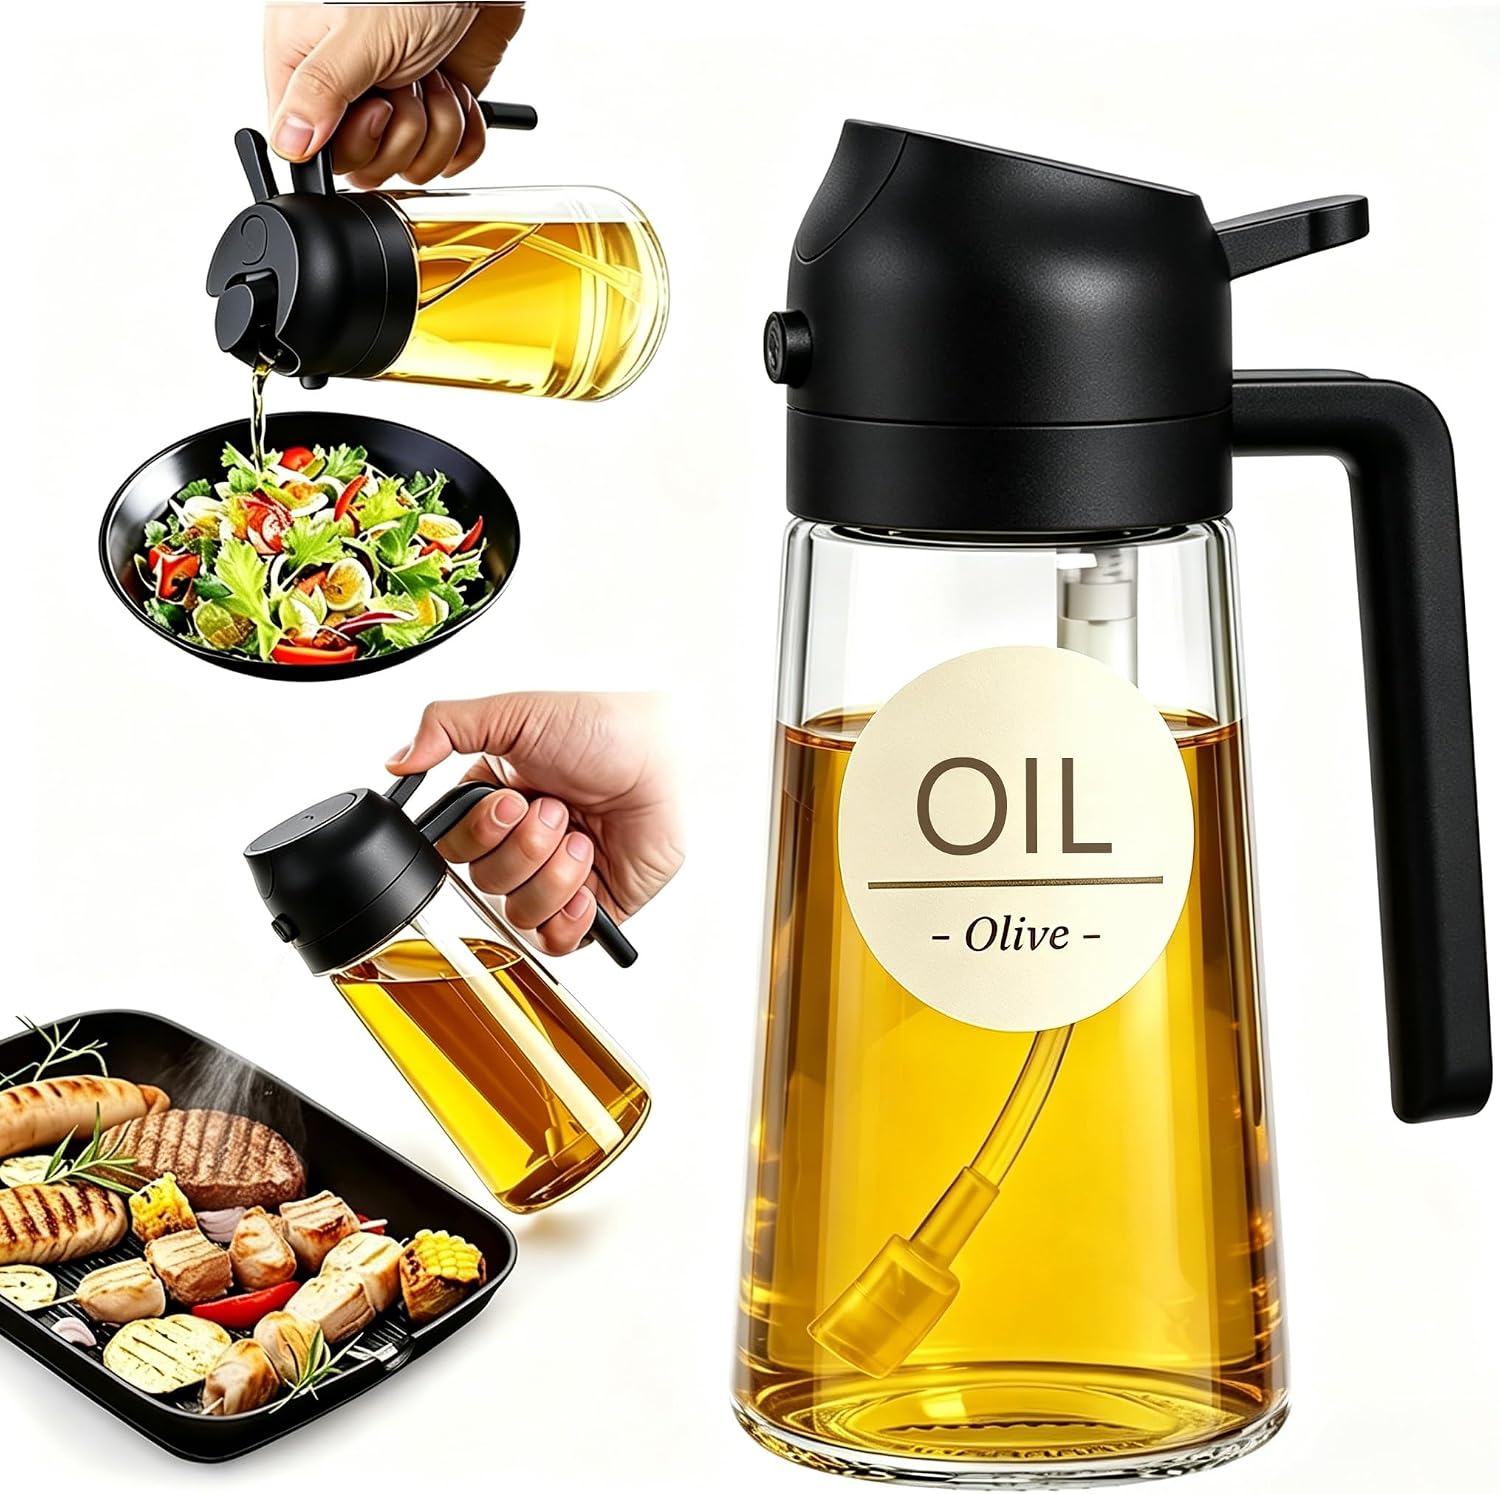
The support act: Pure Future 2-in-1 Olive Oil Sprayer for Cooking, Dispenser Bottle (Black)
 Visit on Amazon →
Check current Amazon price here too, since the small-tool category fluctuates more than the appliances do.
This is the piece most people skip, and it is the piece that changes the texture of everything coming out of the basket. A pour from the bottle gives you a wet patch in the middle and a dry edge on the outside, and the wet patch is where the coating starts to suffer. A refillable sprayer lays a coat thin enough that the surface dries fast and the hot air can do its job.
The 2-in-1 design means you can spray for a light coat and pour for a measured drizzle when a recipe actually calls for oil by volume, so it replaces two things on the counter. Fill it with the olive oil you cook with and you stop paying for aerosol cans that carry propellants into a 400 degree chamber. Rinse the nozzle after a week of heavy use, because any fine spray head will eventually gum up if you leave oil sitting in it, and skip it entirely for thick, cloudy finishing oils that will clog the works.
Flaws but not dealbreakers: It is a manual pump, not a pressurized can, so you will pump more than you expect on the first few uses. That is the trade for not buying disposables.
Anyone who cooks in an air fryer more than twice a week should own one of these before they buy a second machine.
The actual workflow
Now the part you came for. This order matters more than any single step.
Step one, preheat real talk. Plenty of machines advertise that they need no preheat, and plenty of those machines cook like they do. A glass basket takes longer to come up to temperature than thin metal, so give it a few minutes at the set temperature before the food goes in. If you skip this, the first three minutes of your cook happen at the wrong temperature and that is where uneven results start.
Step two, dry the surface. Pat everything dry, especially chicken skin, potatoes, and anything that came out of a marinade. Surface moisture turns to steam, steam keeps the surface at 212 degrees until it boils off, and browning cannot start until it does. This one step fixes more complaints than any setting change.
Step three, spray, do not pour. Hold the sprayer a few inches away and coat in short passes, then toss or flip and coat the other side. You want a sheen, not a slick. If you can see oil pooling in the corners of the basket, you used too much, and those corners will be your hot spot by minute ten.
Step four, respect the usable footprint. Single layer. No stacking, no piling, no cramming one more handful in because there is vertical space. Air has to move around every surface, and a crowded basket steams the middle while it burns the edges. Cook in two batches if you have to, and keep the first batch warm in a low oven.
Step five, shake or flip at the halfway mark. Set a timer for half the total cook time and turn everything over. This is the single most effective fix for a machine with a hot corner, because it moves the food out of the hot zone before the damage is done.
Step six, watch through the window, not the open drawer. Use the glass and the clear window to judge color. If you have to open the basket, do it once, do it fast, and add a minute back to the timer.
Step seven, drop the temperature for the last stretch. If the outside is browning faster than the inside is cooking, knock the temperature down and let it finish gently. This is how you rescue thick chicken pieces and dense vegetables without a burnt crust.
Step eight, season after, not before. Salt pulls moisture to the surface, and moisture fights browning. Salt and finish with acid after the food comes out. Your crust will be noticeably better for it.
Three mistakes that wreck a batch
First, cooking cold food straight from the fridge into a cold basket. Let proteins sit out for a few minutes and preheat the machine, or accept that the middle and the outside will finish at different times.
Second, trusting a preset. Presets are built for the average frozen product in the average machine, and your food is neither. Use them as a starting temperature if you like, then set your own time.
Third, brushing a hot basket with a stiff brush. Coatings scratch, and a scratched coating is a basket you will hand-wash twice and then resent. Soft sponge, warm water, and a dishwasher only if the manufacturer says the basket belongs there.
What this all costs
Check current Amazon price on both items before you buy, because neither number is fixed and the appliance side moves more than the small-tool side. What I can tell you is that the gear is a one-time purchase and the technique is free.
The machine replaces a countertop appliance you probably already own, so the honest accounting is not the sticker but the cabinet space it frees up. The sprayer replaces a recurring purchase, which is the cost that never shows up in a review. Spread across a year of weeknight dinners, both items cost less per meal than the oil you would waste pouring straight from the bottle.
The math is the easy part. What actually changes your results is the eight steps above, run in order, on the machine you already have. Dry the surface, spray instead of pour, leave the drawer closed, and salt at the end.
That is the whole job. Your air fryer was built to do this. Let it.